Introduction
Thank you for purchasing a WordPress Theme. This documentation consists of several parts and shows you the entire process of setting up and administering a WordPress Website from scratch.
What is WordPress CMS?
WordPress is a free and open source blogging tool and a content management system (CMS) based on PHP and MySQL. It enables you to build Websites and powerful on-line applications and requires almost no technical skills or knowledge to manage. Many aspects, including its ease of use and extensibility, have made WordPress the most popular Web site software available. Learn More
What is a WordPress template
A WordPress template is a skin for a website built with the WordPress CMS platform. In other words, you can easily change your WordPress Web site appearance by installing a new template in a few easy steps. With all its simplicity, a WordPress template is provided with all the necessary source files and you are free to edit or extend it the way you need.
Help and Support
- mail us: support@starthemes.net
Files structure
The template package you have downloaded consists of several folders. Let's see what each folder contains:
- documentation - contains documentation files.
- documentation.html - the main documentation file. You are right here :)
- screenshots - contains template screenshots. Not for production.
- theme - contains WordPress theme files.
- theme####.zip - this folder content all the necessary files for the theme.
- sample_data - contains files that can make your WordPress website look like our live demo.
- sample_data.xml - contains all template sample data (posts, pages, categories, etc.).
- various images and other media files
- manuall_install - contains files that can make your WordPress website look like our live demo.
- uploads - contains theme images.
- theme#####.sql - database backup file (contains theme content).
- license.txt - contains license details.
- readme.txt - contain information about theme images path and font use and usage scritps.
Template installation
Template installation is very easy process. The installation process includes only two simple steps: theme installation and sample data installation.
All installation steps can be done within WordPress interface. It makes process comfortable and fast.
Step 1. Theme installation
- Go to the menu Appearance > Themes and click the Add New Theme button.
- Click the Upload link.
- Click the Browse button and navigate to the unzipped template package on your computer.
- Look for a file called Holiday-pro.zip Click on it to select, then click OK.
- Click the Install Now button and wait until the installation is complete.
- Click the Activate link to change the current layout of the site to the theme your purchased.
- Go to Appearance >> Theme Options >> Restore Default.
Congratulations, your theme have been successfully installed!
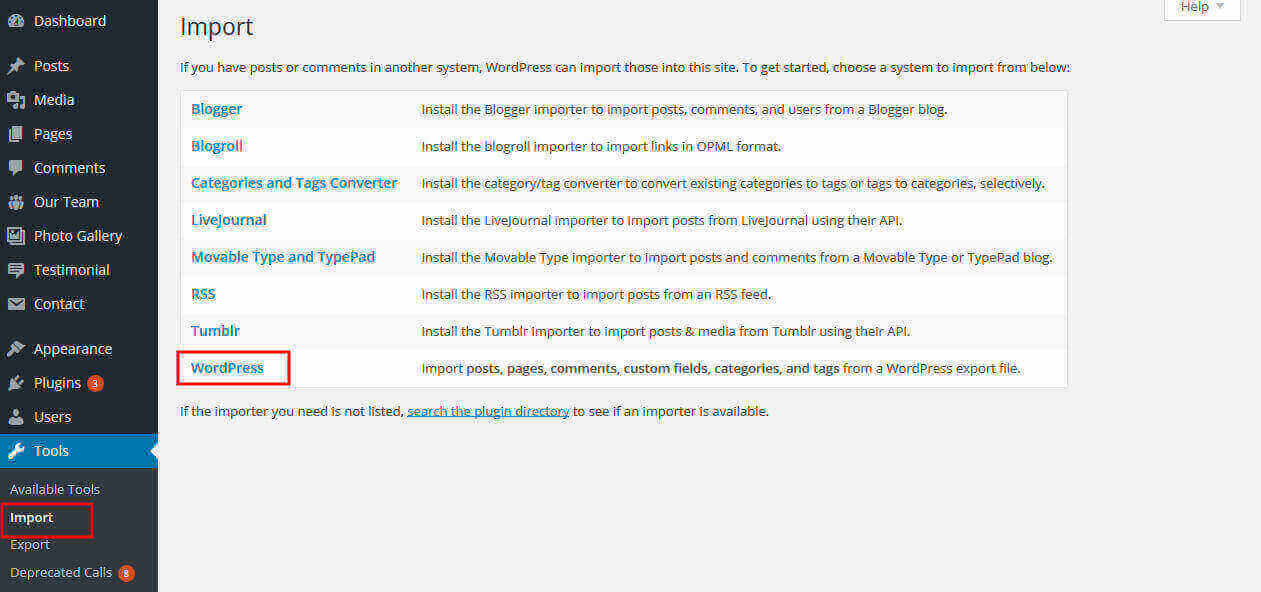
Step 2. Sample Data Installation
To make your WordPress website look like our live demo, please follow the instructions below.
- Go to the tools Select import option and select wordpress and install then browse xml file and you'r done. See below screenshot.
How to set up homepage
Setup Header

Follow these instructions to setup header.
- For Header Topbar Left: Go to Appearance >> Theme Options >> Basic Setting >>Add Contact Info
- For Header Topbar Right: Go to Appearance >> Theme Options >> Basic Setting >> Add Social Icon and link.
- For Site Name/Logo: For changing site name go to Settings >> General >> Site Title OR if you want to uplaod logo for your site go to Appearance >> Theme Options >> Basic settings >> Logo. Please see the theme option tab in this documentation for more details.
- For Navigation: See the Setup Navigation tab of this documentation.
- For Slider: Go to Appearance >> Theme Options >> Homepage Slider >> Upload image, Add Title
Setup Holiday Info Section
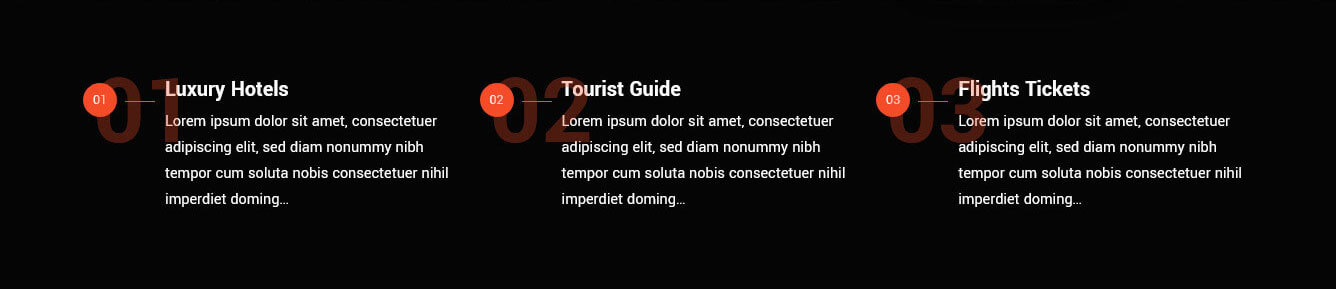
For setting up Holiday Info first section Go to >> Appearance >> Theme Options >> Sections >> Select Section 1.
Shortcode/Content for Holiday Info First Section.
[row][column col="4"][infobox num="01" title="Luxury Hotels"]Lorem ipsum dolor sit amet, consectetuer adipiscing elit, sed diam nonummy nibh tempor cum soluta nobis consectetuer nihil imperdiet doming...[/infobox][/column][column col="4"][infobox num="02" title="Tourist Guide"]Lorem ipsum dolor sit amet, consectetuer adipiscing elit, sed diam nonummy nibh tempor cum soluta nobis consectetuer nihil imperdiet doming...[/infobox][/column][column col="4"][infobox num="03" title="Flights Tickets"]Lorem ipsum dolor sit amet, consectetuer adipiscing elit, sed diam nonummy nibh tempor cum soluta nobis consectetuer nihil imperdiet doming...[/infobox][/column][/row]
Setup Welcome Holiday Travels Section
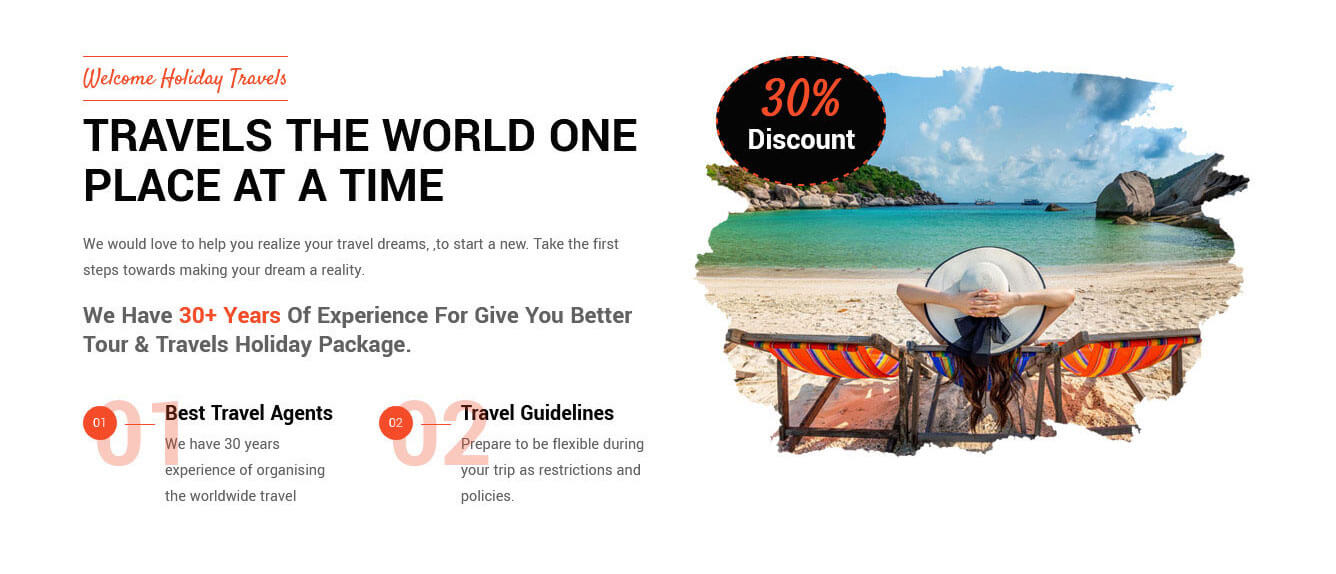
For setting up Welcome Holiday Travels second section Go to >> Appearance >> Theme Options >> Sections >> Select Section 2.
Shortcode/Content for Welcome Holiday Travels Second Section.
[welcome sub_title="Welcome Holiday Travels" title="Travels the world one place at a time" image_path="http://localhost/star/holiday/wp-content/themes/holiday-pro/images/wel-thumb.jpg" discount_offer="30%" discount_text="Discount"]We would love to help you realize your travel dreams, ,to start a new. Take the first steps towards making your dream a reality.<br><br><strong>We Have <span>30+ Years</span> Of Experience For Give You Better Tour & Travels Holiday Package.</strong>[clear][row][column col="6"][infobox num="01" title="Best Travel Agents"]We have 30 years experience of organising the worldwide travel[/infobox][/column][column col="6"][infobox num="02" title="Travel Guidelines"]Prepare to be flexible during your trip as restrictions and policies.[/infobox][/column][/row][/welcome]
Setup Counter Section

For setting up Counter Third section Go to >> Appearance >> Theme Options >> Sections >> Select Section 3.
Shortcode/Content for Counter Section.
[counter_wrap][counter icon="location-dot" icon_style="light" title="Top Local Guides" count="584" num_color="#ffffff" title_color="#ffffff"][counter icon="clouds-sun" icon_style="light" title="Winter Destinations" count="7410" num_color="#ffffff" title_color="#ffffff"][counter icon="arrow-trend-up" icon_style="light" title="New Tours" count="680" num_color="#ffffff" title_color="#ffffff"][counter icon="face-smile" icon_style="light" title="Happy Travelers" count="2540" num_color="#ffffff" title_color="#ffffff"][/counter_wrap]
Setup Why Choose Services Section
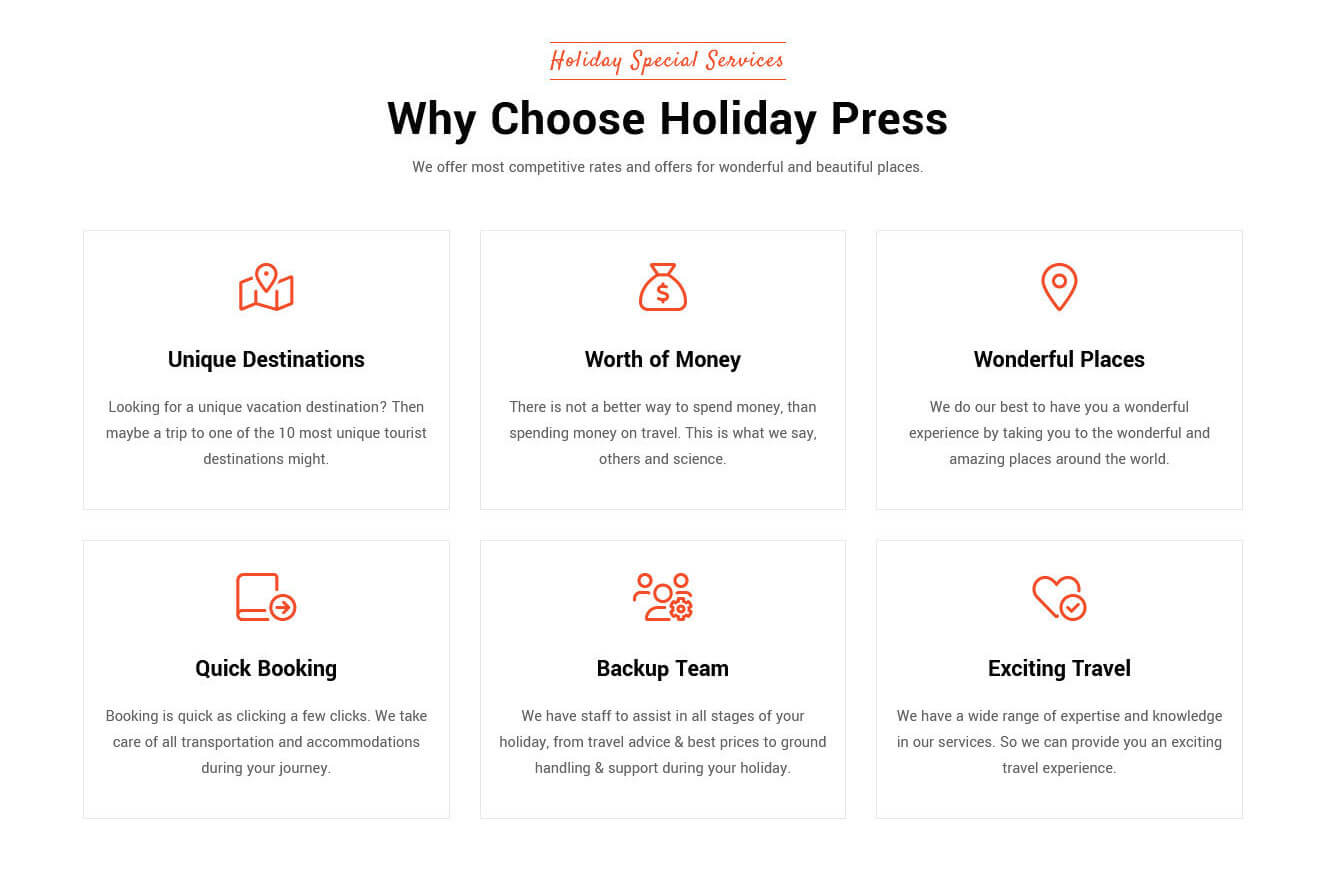
For setting up Why Choose Services Fourth section Go to >> Appearance >> Theme Options >> Sections >> Select Section 4.
Shortcode/Content for Why Choose Services Section.
[row][column col="4"][services title="Unique Destinations" icon="map-location-dot" icon_style="light" link="#"]Looking for a unique vacation destination? Then maybe a trip to one of the 10 most unique tourist destinations might.[/services][/column][column col="4"][services title="Worth of Money" icon="sack-dollar" icon_style="light" link="#"]There is not a better way to spend money, than spending money on travel. This is what we say, others and science.[/services][/column][column col="4"][services title="Wonderful Places" icon="location-dot" icon_style="light" link="#"]We do our best to have you a wonderful experience by taking you to the wonderful and amazing places around the world.[/services][/column][column col="4"][services title="Quick Booking" icon="book-circle-arrow-right" icon_style="light" link="#"]Booking is quick as clicking a few clicks. We take care of all transportation and accommodations during your journey.[/services][/column][column col="4"][services title="Backup Team" icon="users-gear" icon_style="light" link="#"]We have staff to assist in all stages of your holiday, from travel advice & best prices to ground handling & support during your holiday.[/services][/column][column col="4"][services title="Exciting Travel" icon="heart-circle-check" icon_style="light" link="#"]We have a wide range of expertise and knowledge in our services. So we can provide you an exciting travel experience.[/services][/column][/row]
Setup Are You Ready To Travel? Section
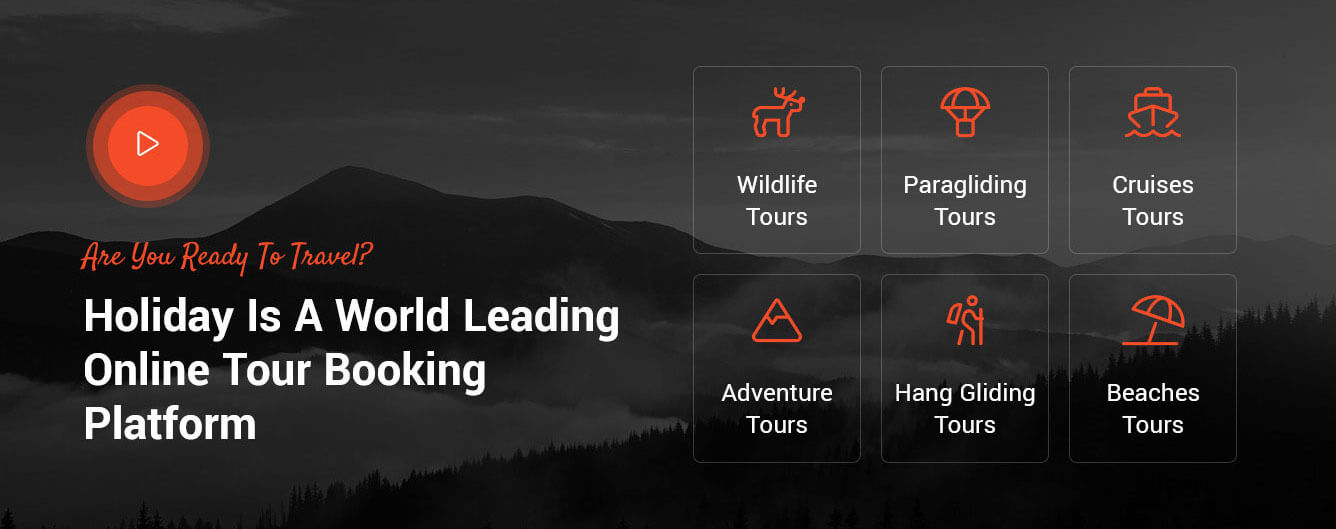
For setting up Are You Ready To Travel? Fifth section Go to >> Appearance >> Theme Options >> Sections >> Select Section 5.
Shortcode/Content for Are You Ready To Travel?Section.
[row][column col="6" subcls="video-left"][popup_video video_link="https://vimeo.com/179023166"]<h3>Are you ready to travel?</h3><h2>Holiday is a World Leading Online Tour Booking Platform</h2>[/column][column col="6"][booking_platform icon="deer-rudolph" icon_style="light" title="Wildlife Tours" link="#"][booking_platform icon="parachute-box" icon_style="light" title="Paragliding Tours" link="#"][booking_platform icon="ship" icon_style="light" title="Cruises Tours" link="#"][clear][booking_platform icon="mountain" icon_style="light" title="Adventure Tours" link="#"][booking_platform icon="person-hiking" icon_style="light" title="Hang Gliding Tours" link="#"][booking_platform icon="umbrella-beach" icon_style="light" title="Beaches Tours" link="#"][clear][/column][/row]
Setup Travels The Perfect Destinations Section
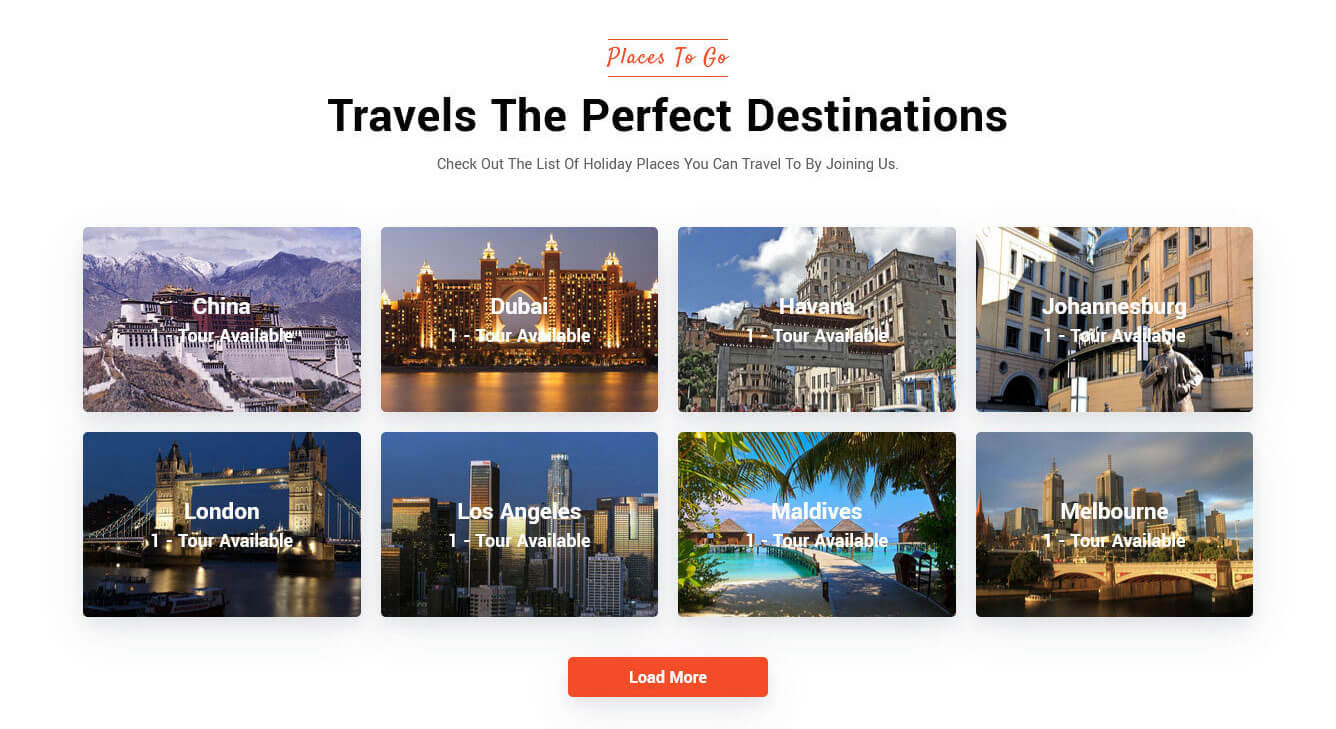
For setting up Travels The Perfect Destinations Sixth section Go to >> Appearance >> Theme Options >> Sections >> Select Section 6.
Shortcode/Content for Travels The Perfect Destinations Sixth Section.
For setting up Travels The Perfect Destinations first of all you need to add some Tour Booking Manager Plugin by using Destination Posts. Follow below instruction to add posts.
For setting up Travels The Perfect Destinations first of all you need to add some posts by using Travel Posts. Follow below instruction to add posts.
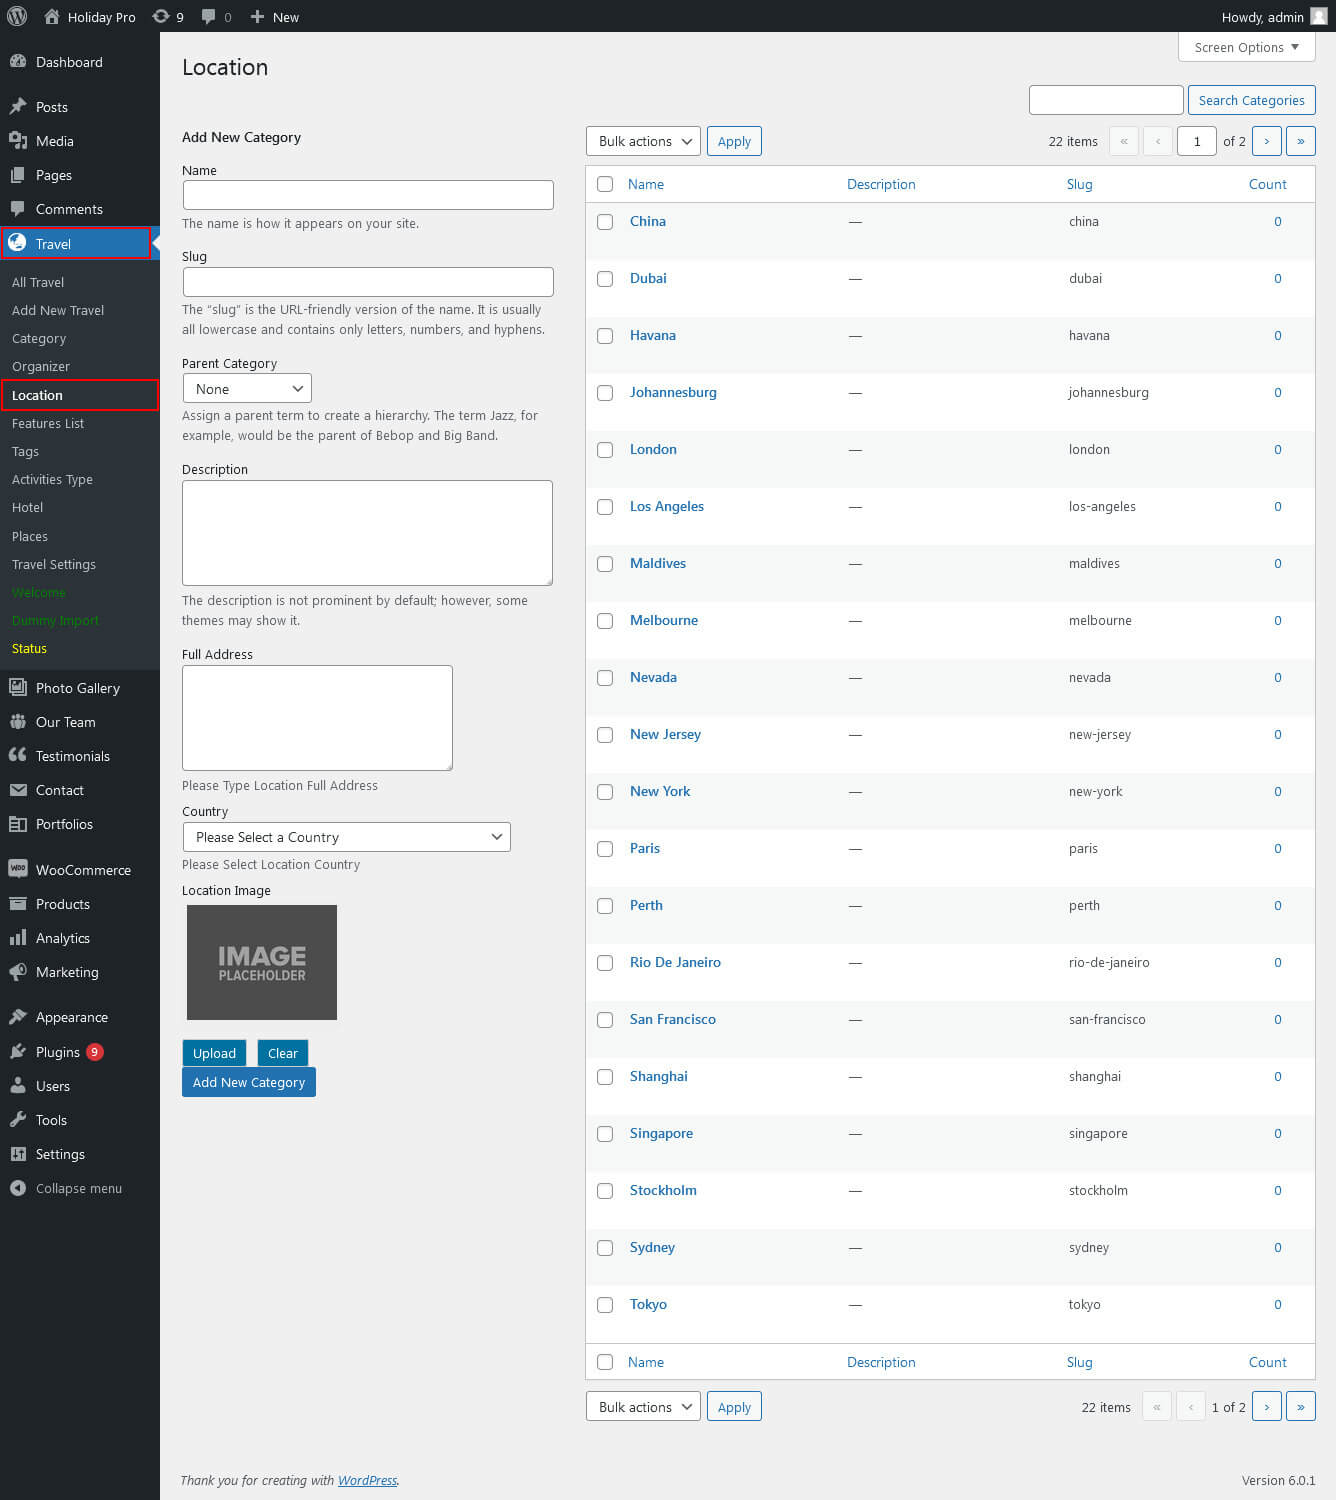
Once you create location and added posts in the Destination Posts type.
[travel-location-list column="4" show="8" sidebar-filter="no" pagination="yes"]
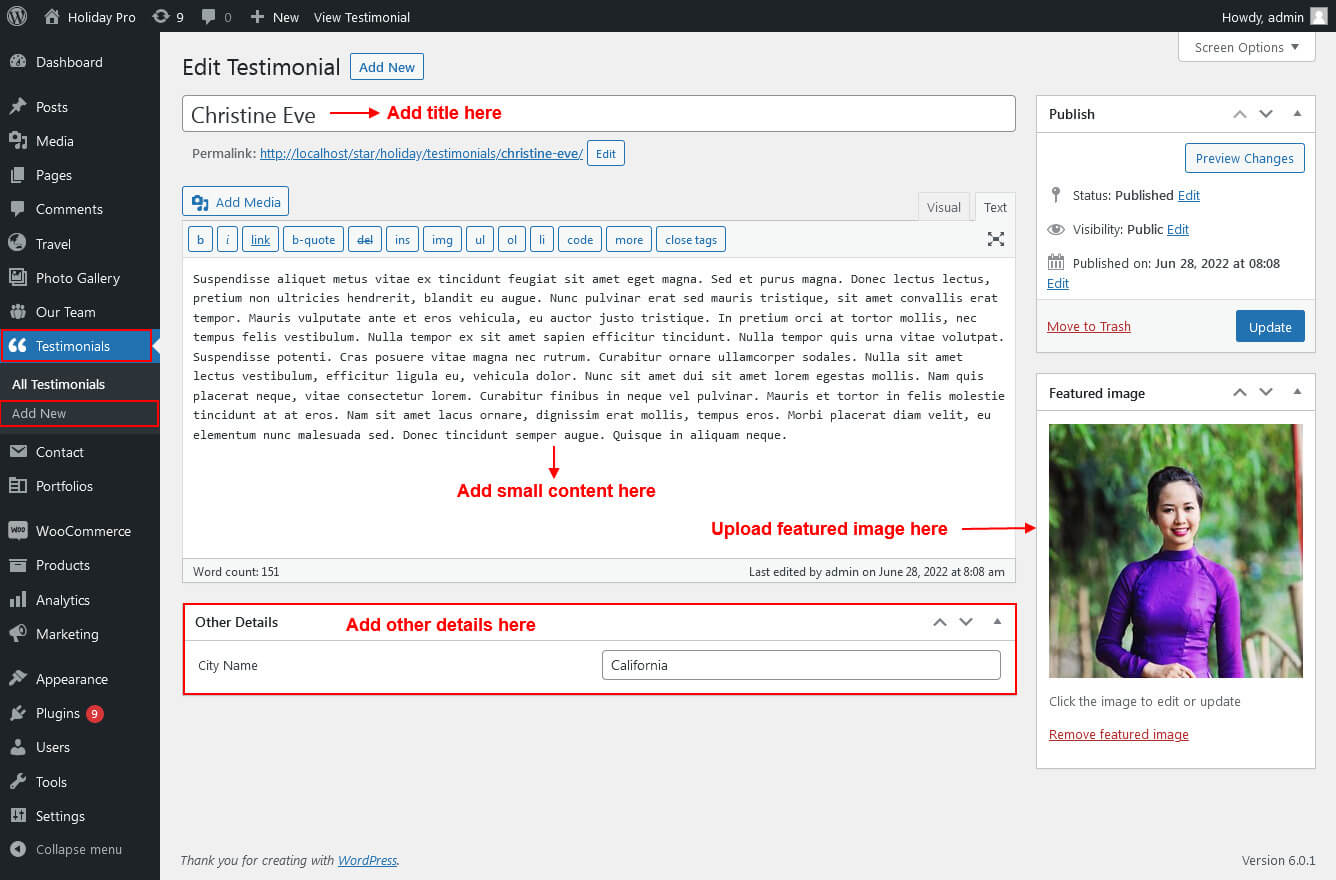
Setup Our Client Reviews Section
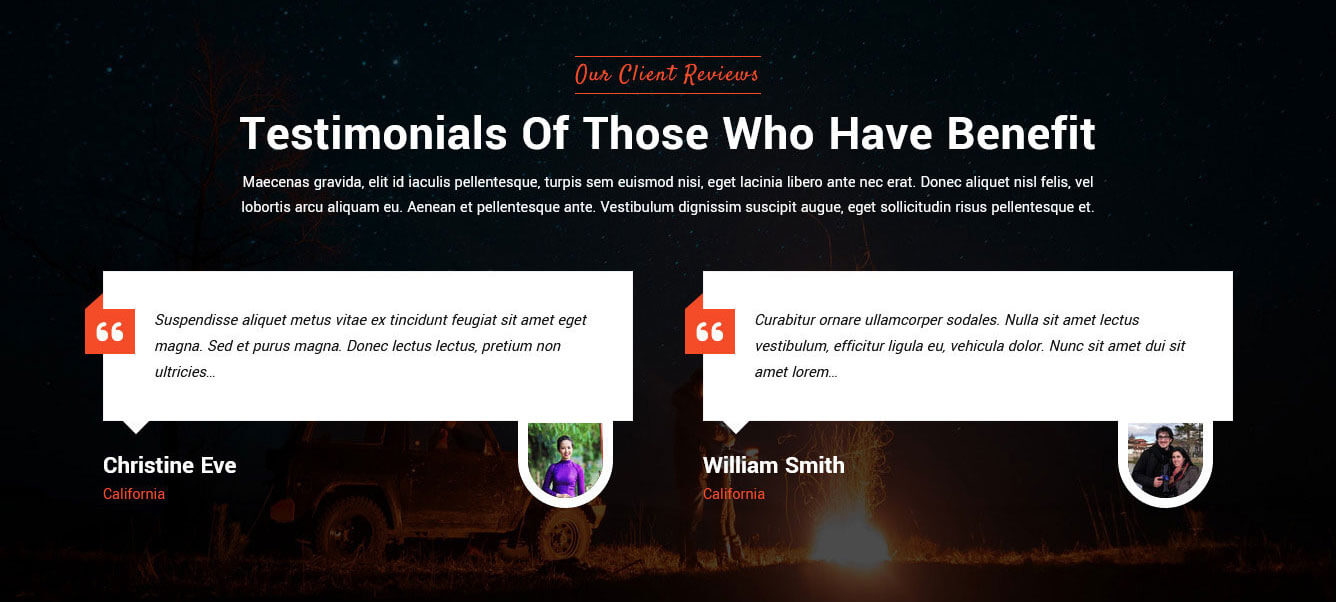
For setting up Our Client Reviews testimonials section first of all you need to add some testimonials by using testimonials post type please see the below screenshot.
After adding post to Our Client Reviews Testimonials go to Appearance >> Theme Options >> Sections >> Section 7.
What Our Client Reviews Testimonials Section Shortcode/Content:
[testimonials]
Setup Trending Tour Section
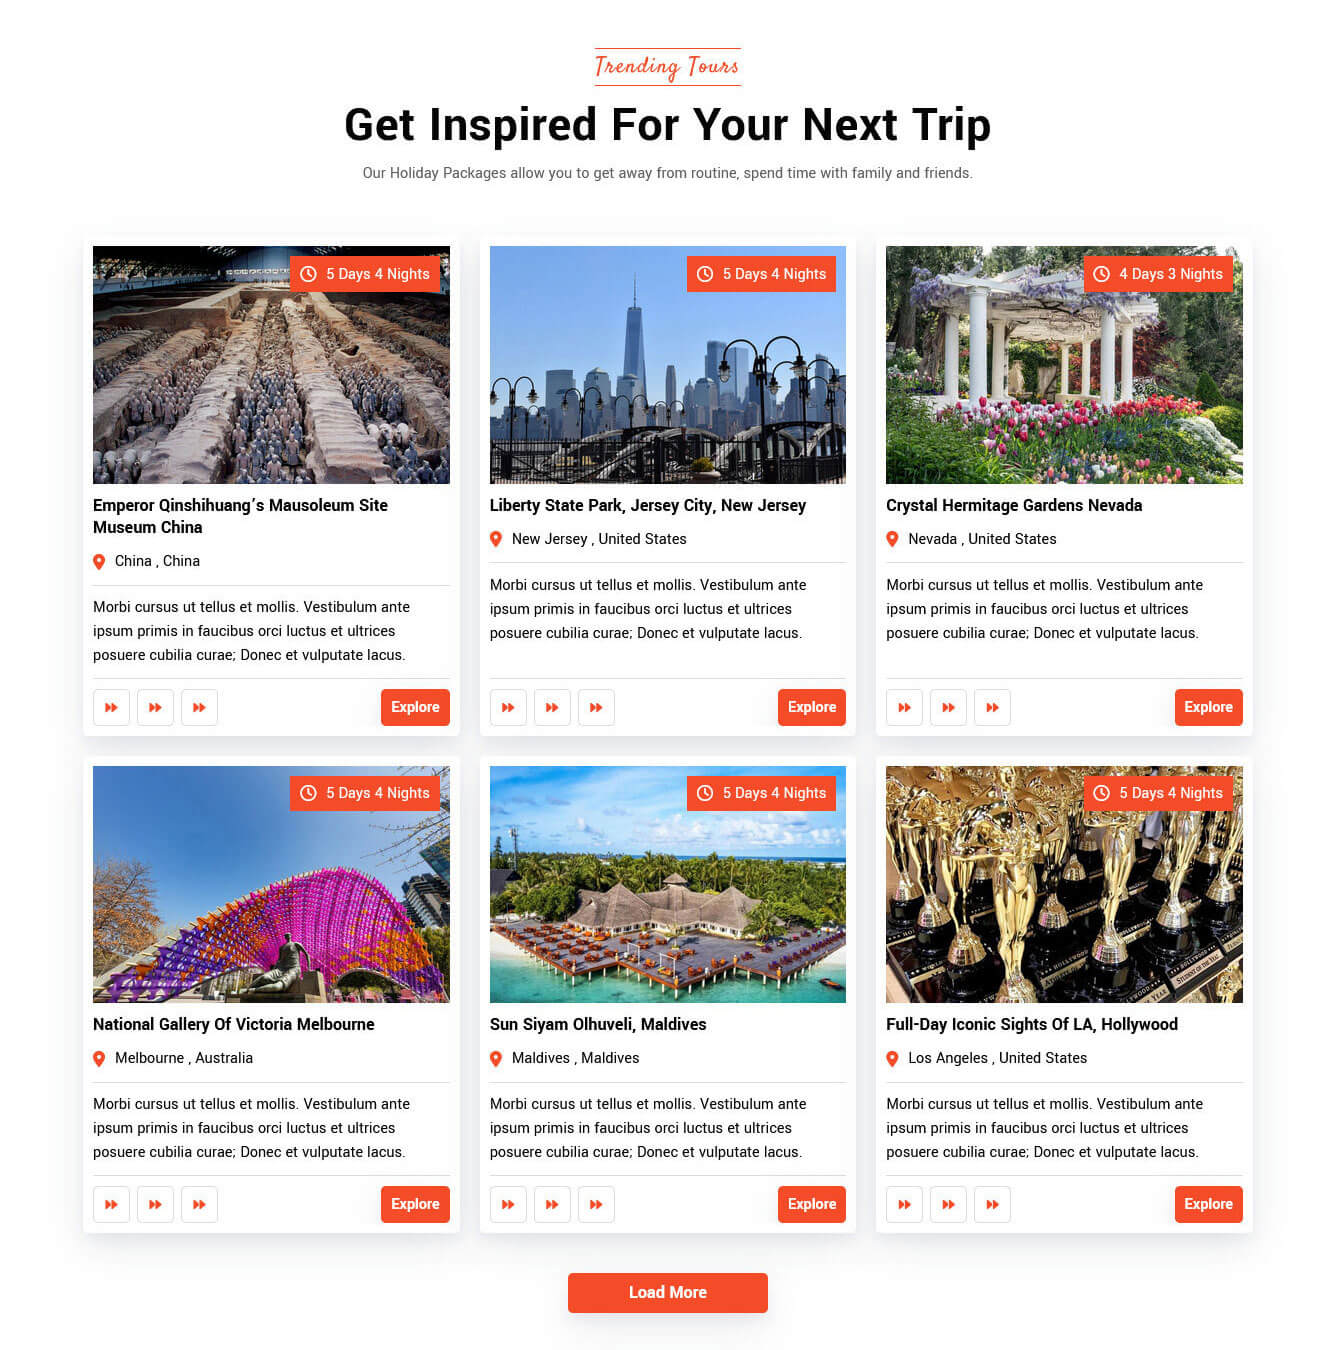
For setting up Trending Tour section Go to >> Appearance >> Theme Options >> Sections >> Select Section 8.
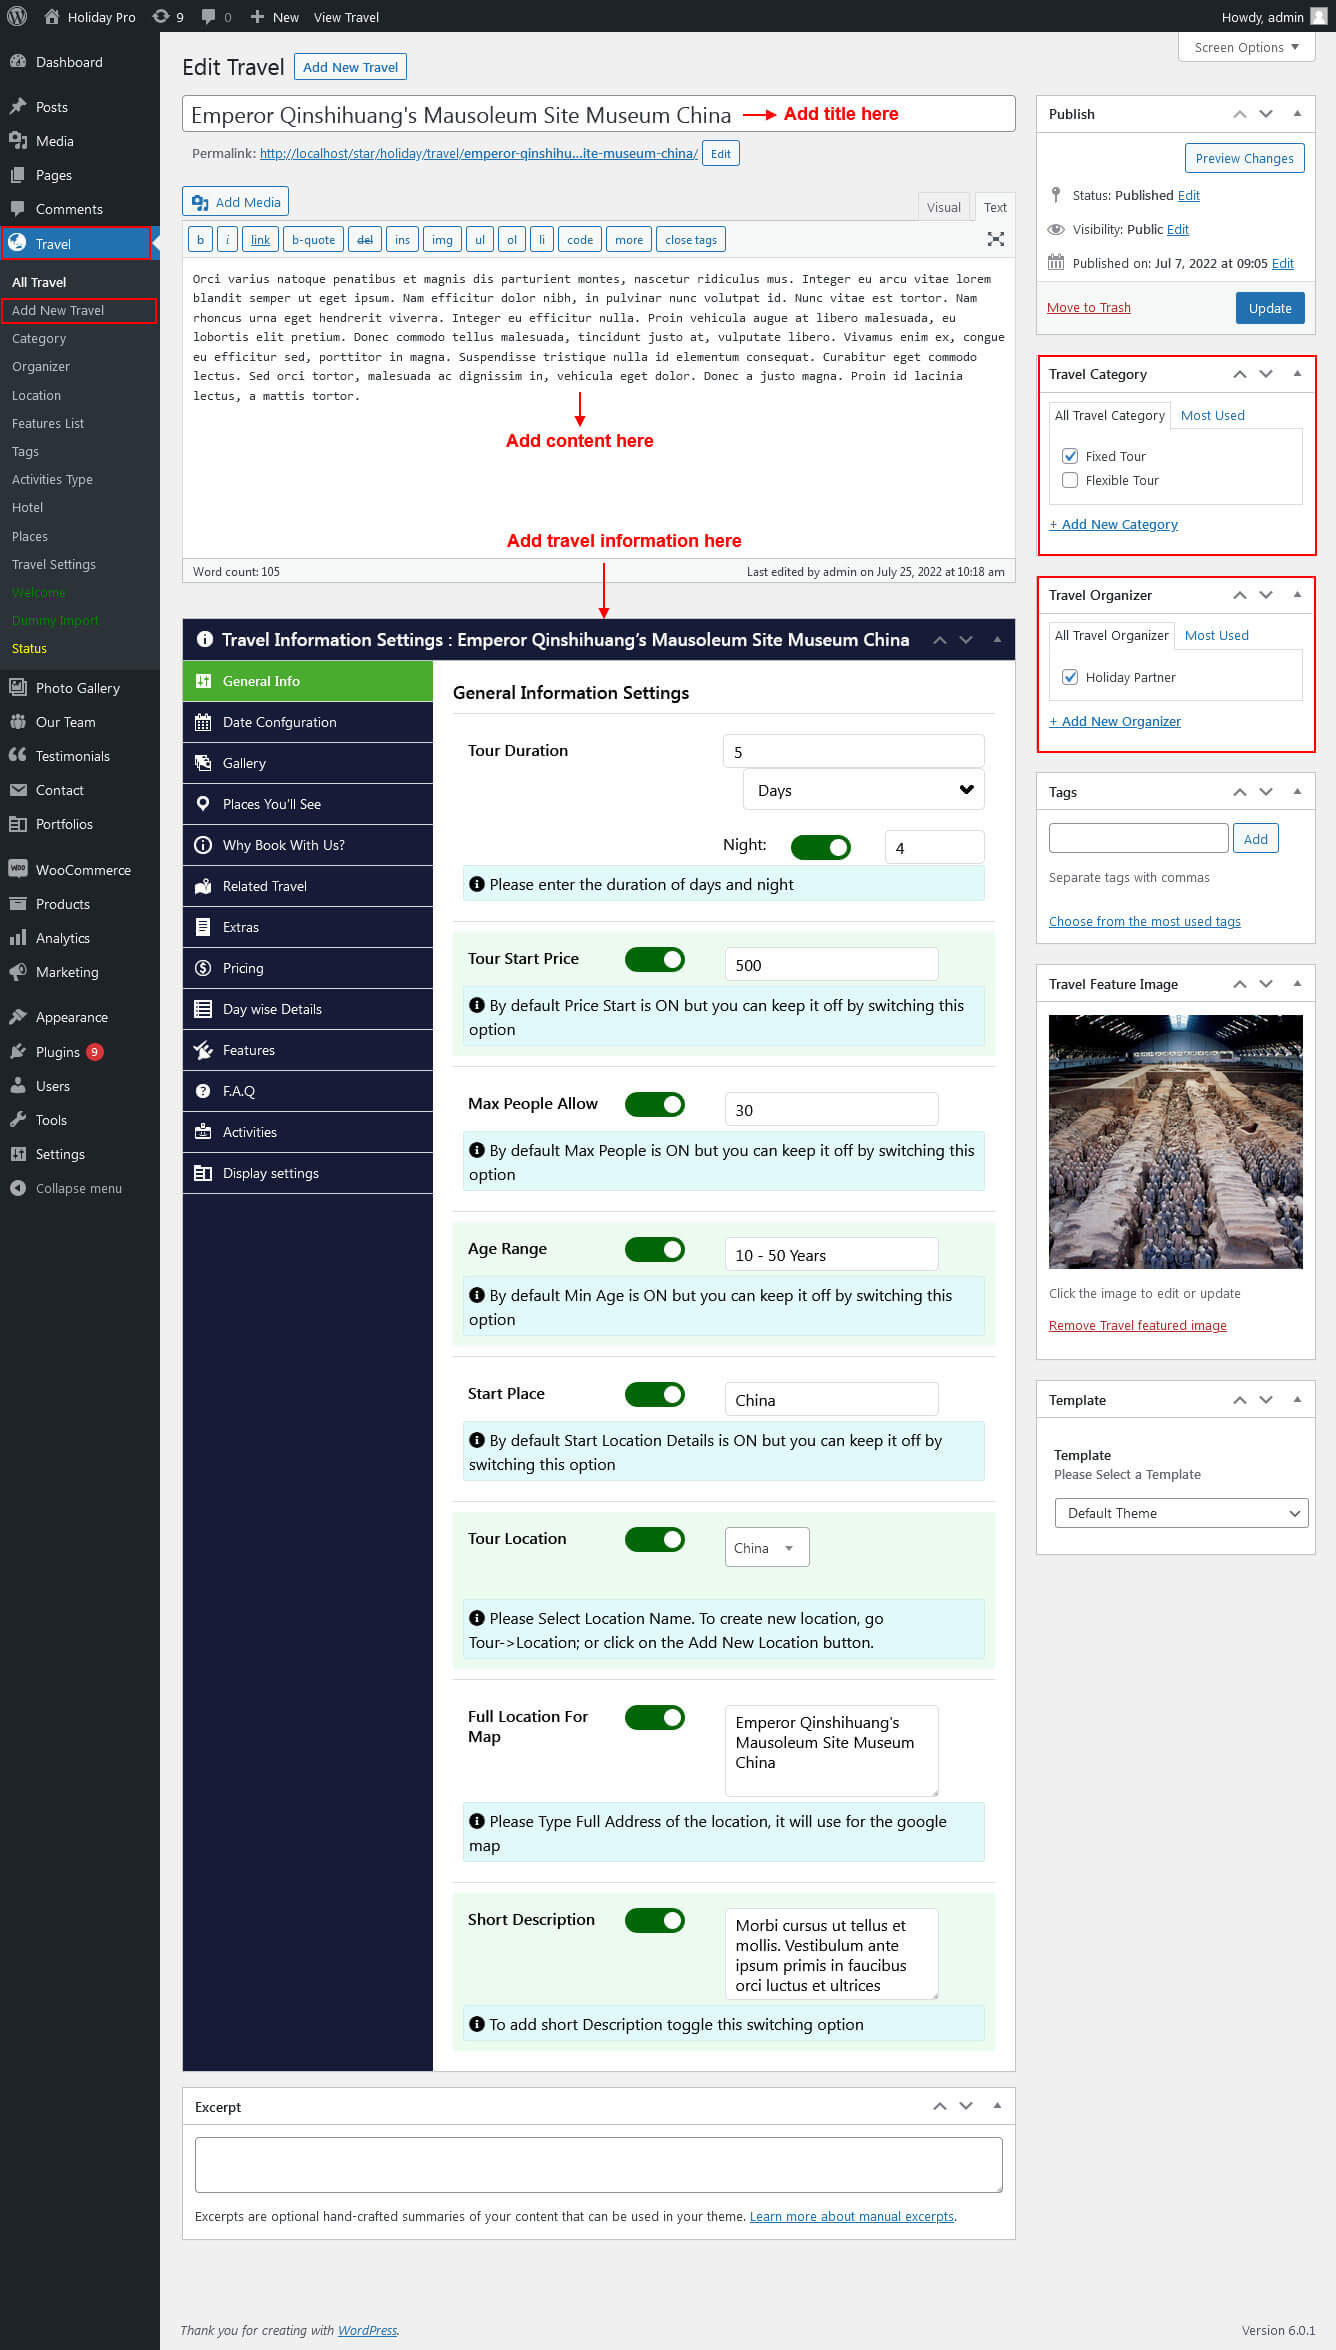
For setting up Trending Tour first of all you need to add some Tour Booking Manager Plugin by using Travel Posts. Follow below instruction to add posts.
For setting up Trending Tour first of all you need to add some posts by using Travel Posts. Follow below instruction to add posts.
Shortcode/Content for Trending Tour Section.
[travel-list style="grid" show="6" column="3" pagination="yes" sidebar-filter="no"]
Setup From The Blog Posts Section
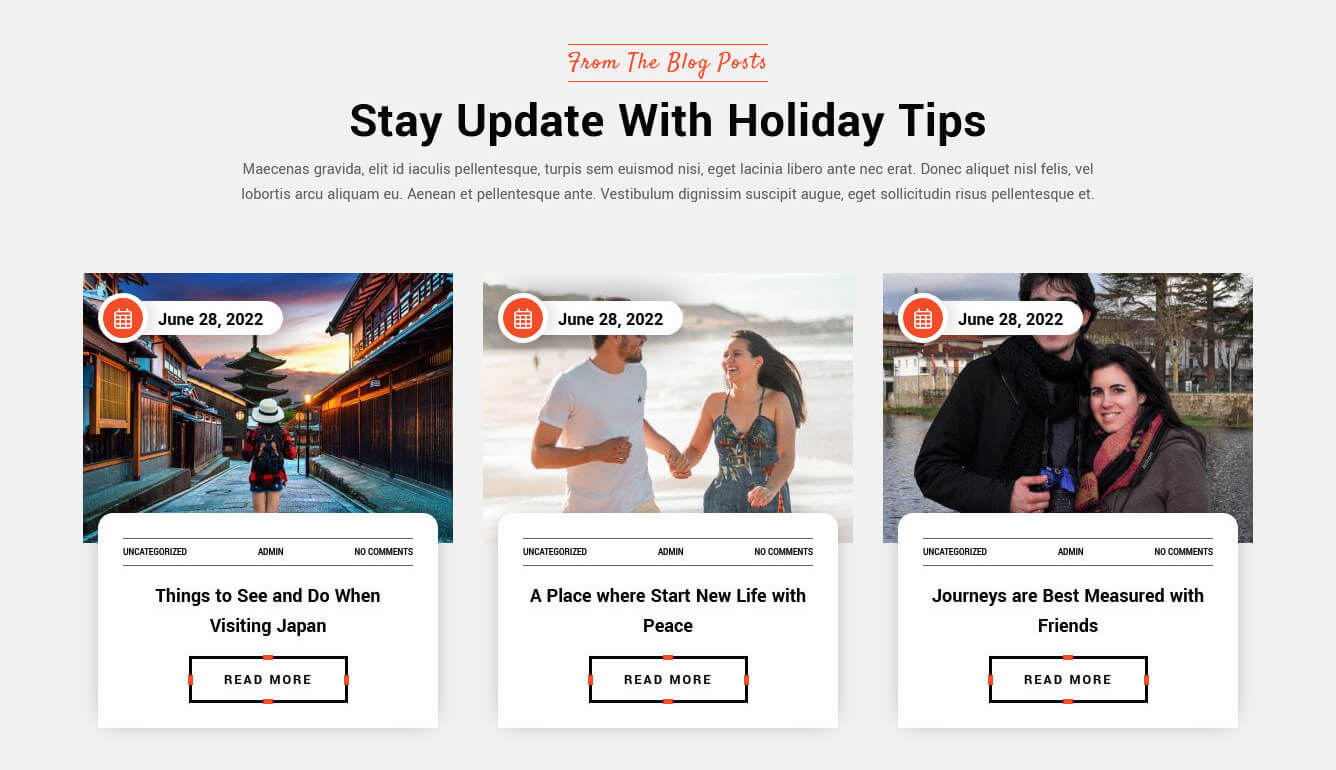
For setting up From The Blog Posts section first of all you need to add some posts by using Posts. Follow below instruction to add posts.
Once you added posts in the From The Blog Posts Posts type after that you just have to add post shortcode in the sections content area and you'r done. (Section 9.)
Shortcode/Content for From The Blog Posts Section
[latest-news show="-1" type="slider" comment="show" date="show" author="show" category="show"]
Setup Client Logo Section

For setting up Client Logo section Go to >> Appearance >> Theme Options >> Sections >> Select Section 10.
Shortcode/Content for Client Logo Section.
[client_lists][client image="http://localhost/star/holiday/wp-content/themes/holiday-pro/images/client-1.png" link="#"][client image="http://localhost/star/holiday/wp-content/themes/holiday-pro/images/client-2.png" link="#"][client image="http://localhost/star/holiday/wp-content/themes/holiday-pro/images/client-3.png" link="#"][client image="http://localhost/star/holiday/wp-content/themes/holiday-pro/images/client-4.png" link="#"][client image="http://localhost/star/holiday/wp-content/themes/holiday-pro/images/client-5.png" link="#"][client image="http://localhost/star/holiday/wp-content/themes/holiday-pro/images/client-6.png" link="#"][client image="http://localhost/star/holiday/wp-content/themes/holiday-pro/images/client-7.png" link="#"][/client_lists]
Setup Footer
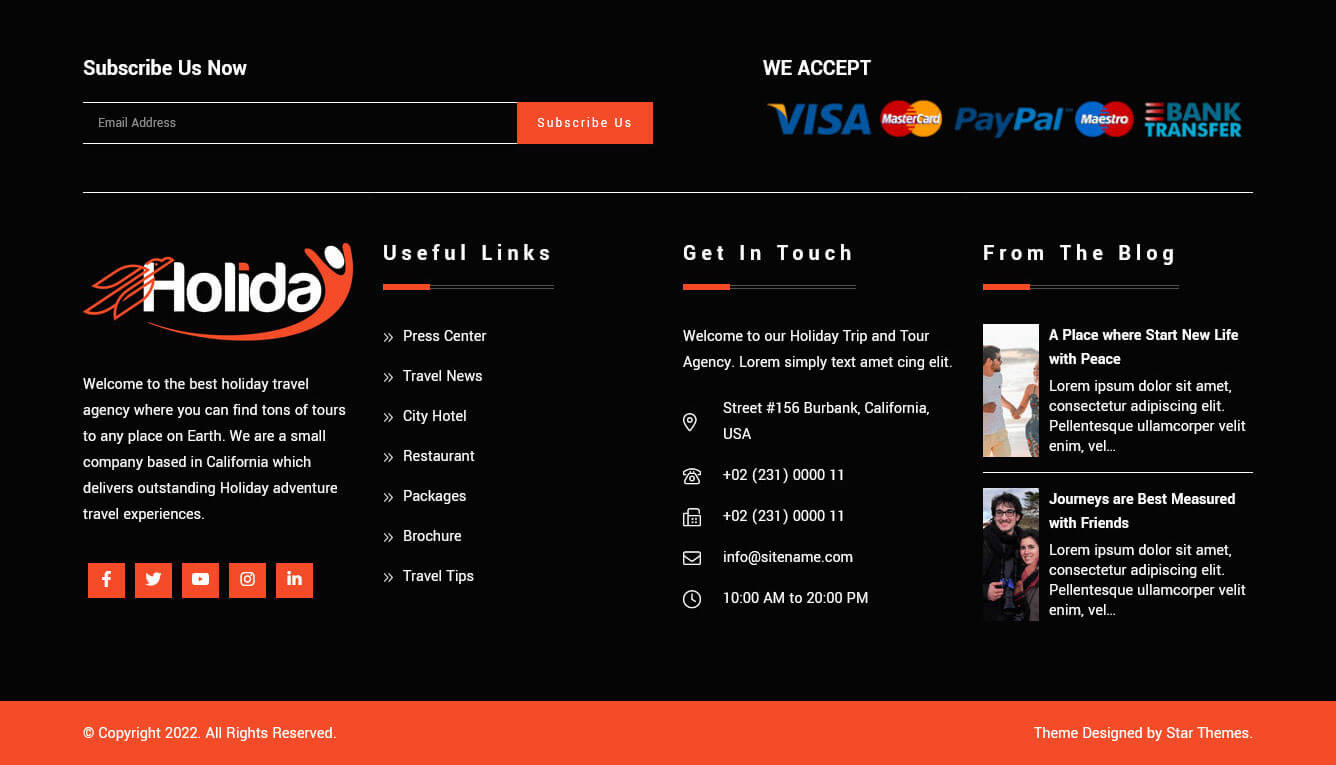
Go to Appearance >> Theme Options >> Basic Setting.

- For footer column 1: Go to Appearance >> Theme Options >> Footer.
- For footer column 2: Go to Appearance >> Menu >> Create Menu >> Select Menu Location >> Add Menu.
- For footer column 3: Go to Appearance >> Theme Options >> Footer.
- For footer column 3: Go to Appearance >> Theme Options >> Footer
- For footer copyright text: Go to Appearance >> Theme Options >> Footer >> Footer Copyright
- For design by text: Go to Appearance >> Theme Options >> Footer >> Footer Design by
Setup Navigation
- First of all create pages from go to Pages >> Add new page.
- Go to Appearance >> Menu
- Click on Create a new menu link
- Give a name to your menu in Menu name and click save menu button
- Once you have create menu. You need to add pages by selecting with checkboxes. After adding menu list you can arrange it by drag and drop.
- Select menu theme location from the below checkboxes
See this screenshot for better understanding.

Page Templates and Sidebars
Page Templates
- Default Template (the default page template with a right sidebar position)
- Full Screen Page (the full screen page template without a sidebar)
- Full Width Page (a page template with one column without a sidebar)
- Left Sidebar (a page template with left sidebar position)
- No Sidebar (a page template have space on left and right.)
- Blog (Full Width) (a blog templates with one column without sidebar)
- Blog (Left Sidebar) (a blog templates with left sidebar position)
- Blog (Right Sidebar) (a blog template with right sidebar position)
- Blog (No Sidebar) (a blog template with no sidebar position)
- Contact (Full Width) (a contact template with add google map position)
Posts, Categories and Post Formats
Adding category
Review the following article for more information on adding categories: http://codex.wordpress.org/Manage_Categories_SubPanel
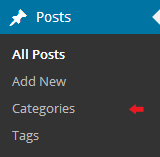
- Log into your WordPress Administration Panel (Dashboard).
- Click the Posts tab.
- With that done, click Categories for blog posts.
- Type in the name of your new category.
- After that, click the Add New Category button.
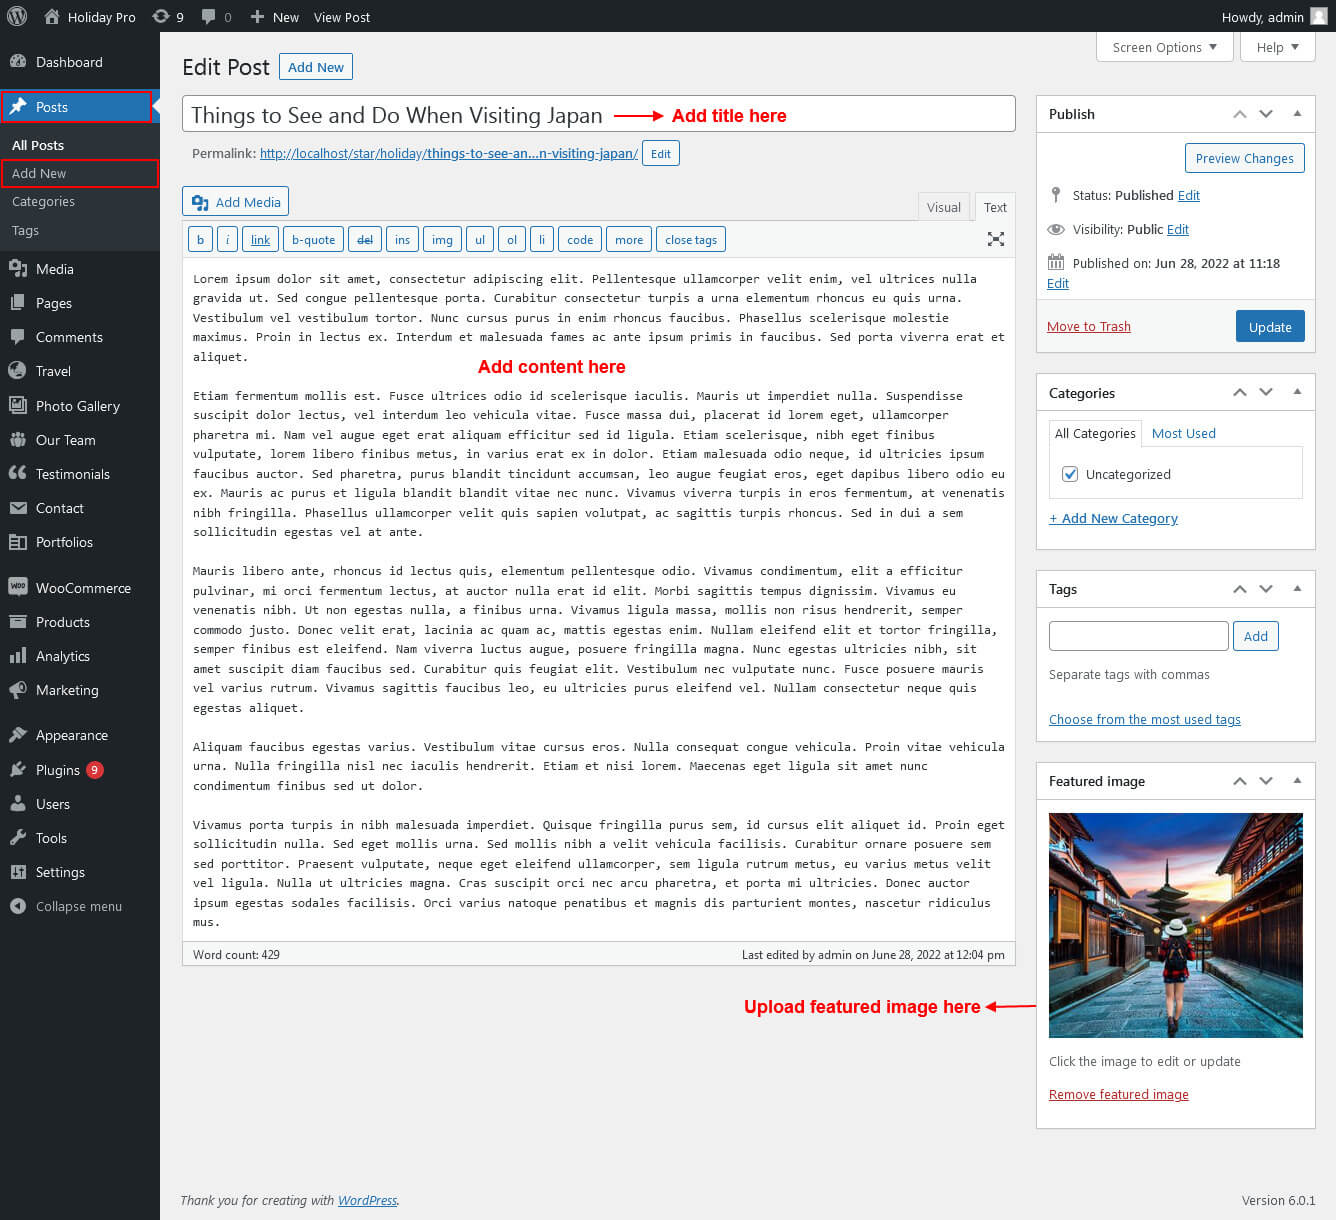
Creating a Blog post
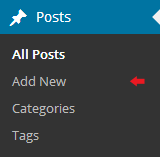
- Log into your WordPress Administration Panel (Dashboard).
- Click the Posts tab.
- Click the Add New tab.
- Type in your post content. For more information on adding posts, please check the following link http://codex.wordpress.org/Posts_Add_New_SubPanel.
Shortcodes
A shortcode is a powerful content building tool http://codex.wordpress.org/Shortcode. Shortcodes are easy to use. First of all, make sure that the editing mode is set to Visual.

All available shortcodes are conditionally divided into these groups:
- Testimonials - used for testimonials output.
- Social icon - used for social icon output.
- One column, Two column, Three column, Four column, Six column - used for display content on columns.
- Tabs - used for display tabs.
- Toggle content - used for display toggle.
- Accordion content - used for display accordion.
- Gradient Button - used for small, medium, large, xtra large gradient button.
- Simple Button - used for small, medium, large, xtra large simple button.
- Round Button - used for light, dark round button.
- Message Boxes - used for success, error, warning, info, about message boxes.
- Search - used to display search form.
- List style - used to display lists.
- Blogpost - used to display blog post.
Testimonial
[testimonials]
Elements
Column Content
[row][column col="1/2/3/4/5/6/7/8/9/10/11/12"]Your Content / Short code goes here...[/column][/row]
Description: used to display column content. You can also use col="One column, Two column, Three column, Four column, Six column".
Tabs
[tabs]
[tab title="TAB TITLE 1"]Tab Content goes here...[/tab]
[/tabs]
Description: use to display tab content.
Toggle content
[toggle_content title="Toggle Title 1"]Toggle Content goes here...[/toggle_content]
Description: use to display toggle content.
Accordion Content
[accordion]
[accordion_content title="ACCORDION TITLE 1"]Accordion Content goes here...[/accordion_content]
[/accordion]
Description: use to display accordion content.
Gradient Button
[gradient_button size="small" bg_color="#000000" color="#ffffff" text="text here" title="title here" url="#" position="left"]
Description: use to display gradient button. you can use small, medium, large, xtra lareg sizes.
Simple Button
[simple_button size="small" bg_color="#000000" color="#ffffff" text="text here" title="title here" url="#" position="left"]
Description: use to display simple button. you can use small, medium, large, xtra lareg sizes.
Round Button
[round_button style="light" text="text here" title="title here" url="#" position="left"]
Description: use to display round button. you can use light or dark style.
Horizontal rule

[hr]
Description: used to display a horizontal line.
Succes Message Box

[message type="success"]This is a sample of the 'success' style message box shortcode. To use this style use the following shortcode[/message]
Description: use to display success message box. you can also use error, warning, info, about types.
Search
[searchform]
Description: use to display search form.
List Style
[unordered_list style="list-1"]<li>List style 1</li>[/unordered_list]
Custom Widgets

Theme Options
The following theme contains the Settings option. These settings allow you to change the theme’s color palette, order of items, turn items on/off and do lots of other things. In order to use these settings, please go to Appearance → Theme Options.
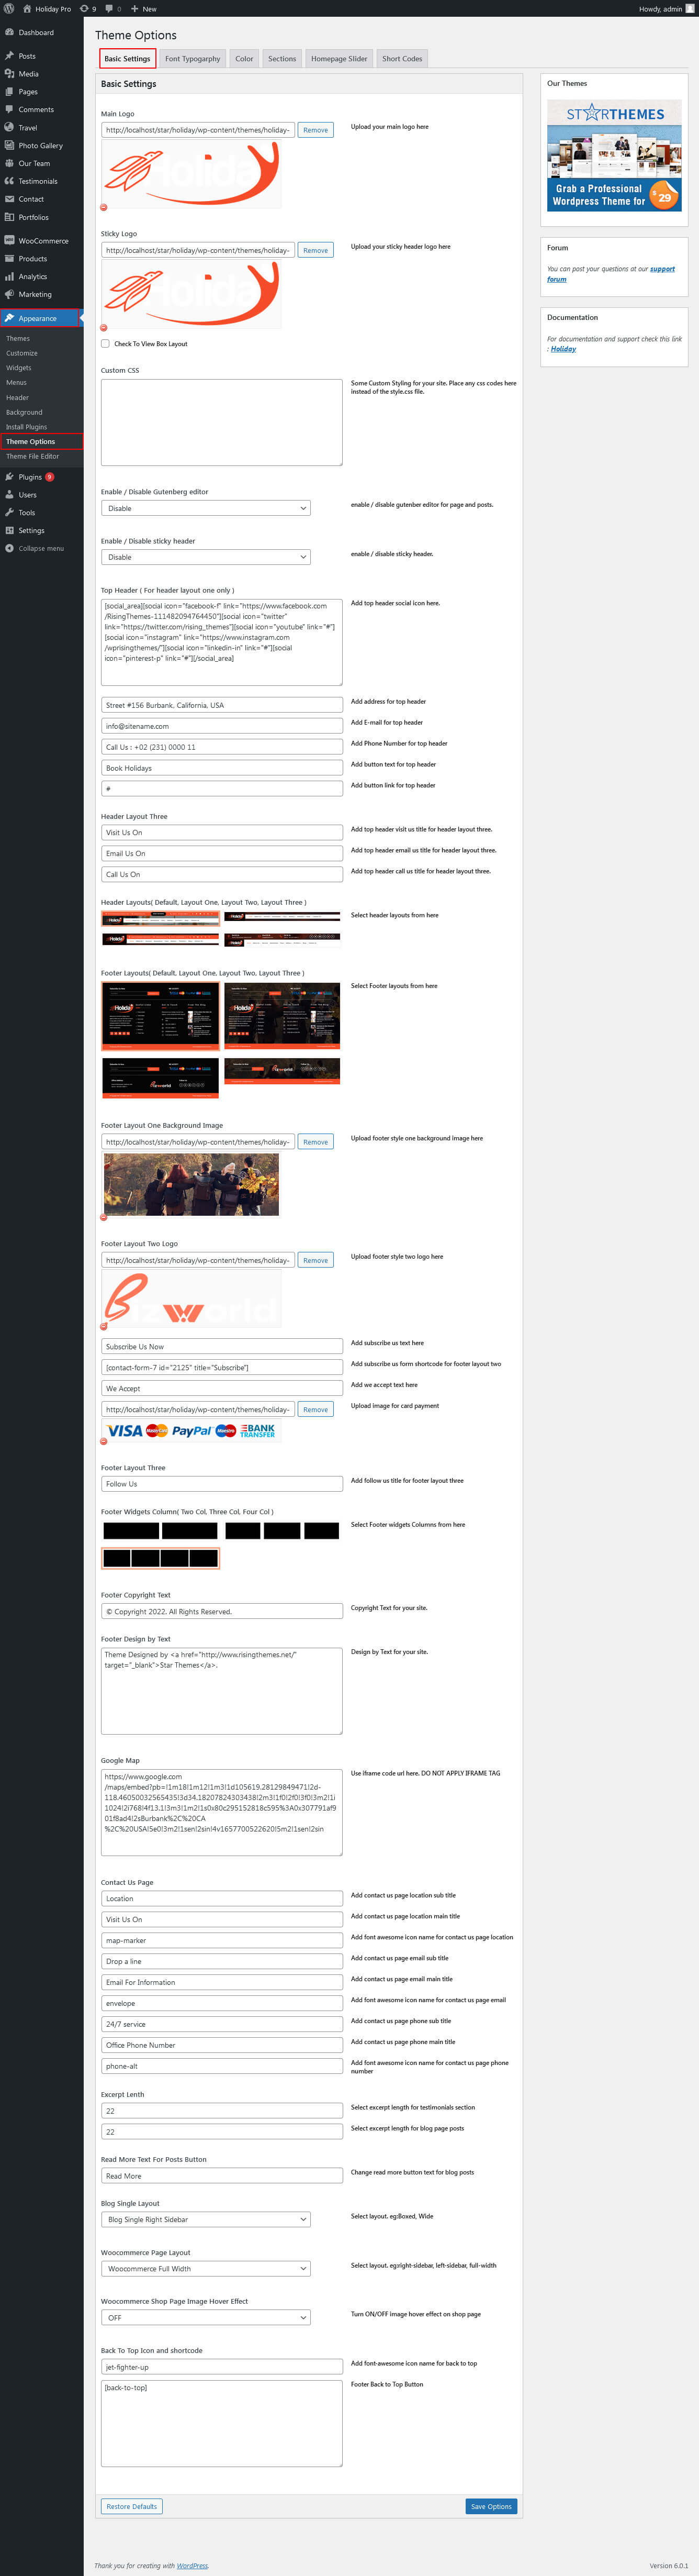
Basic Settings
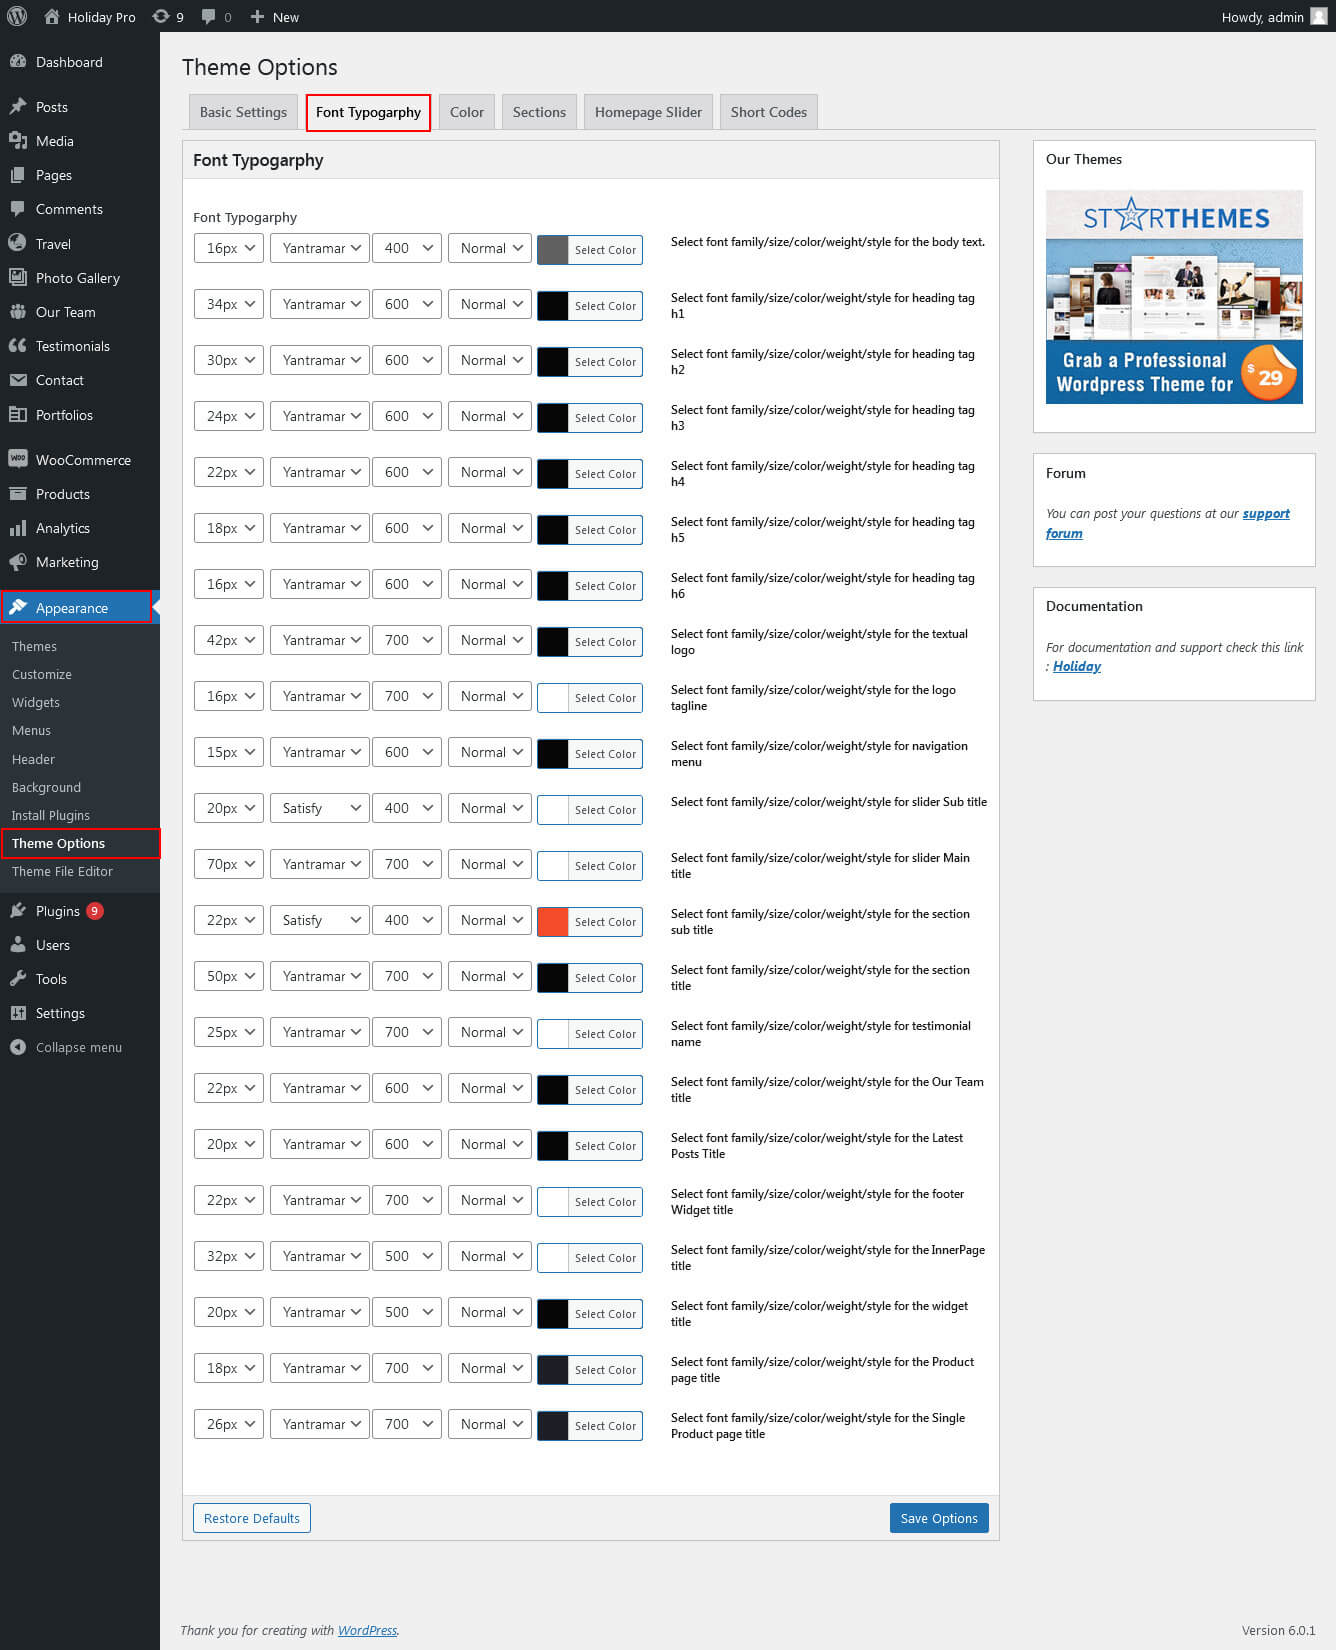
Font Typography
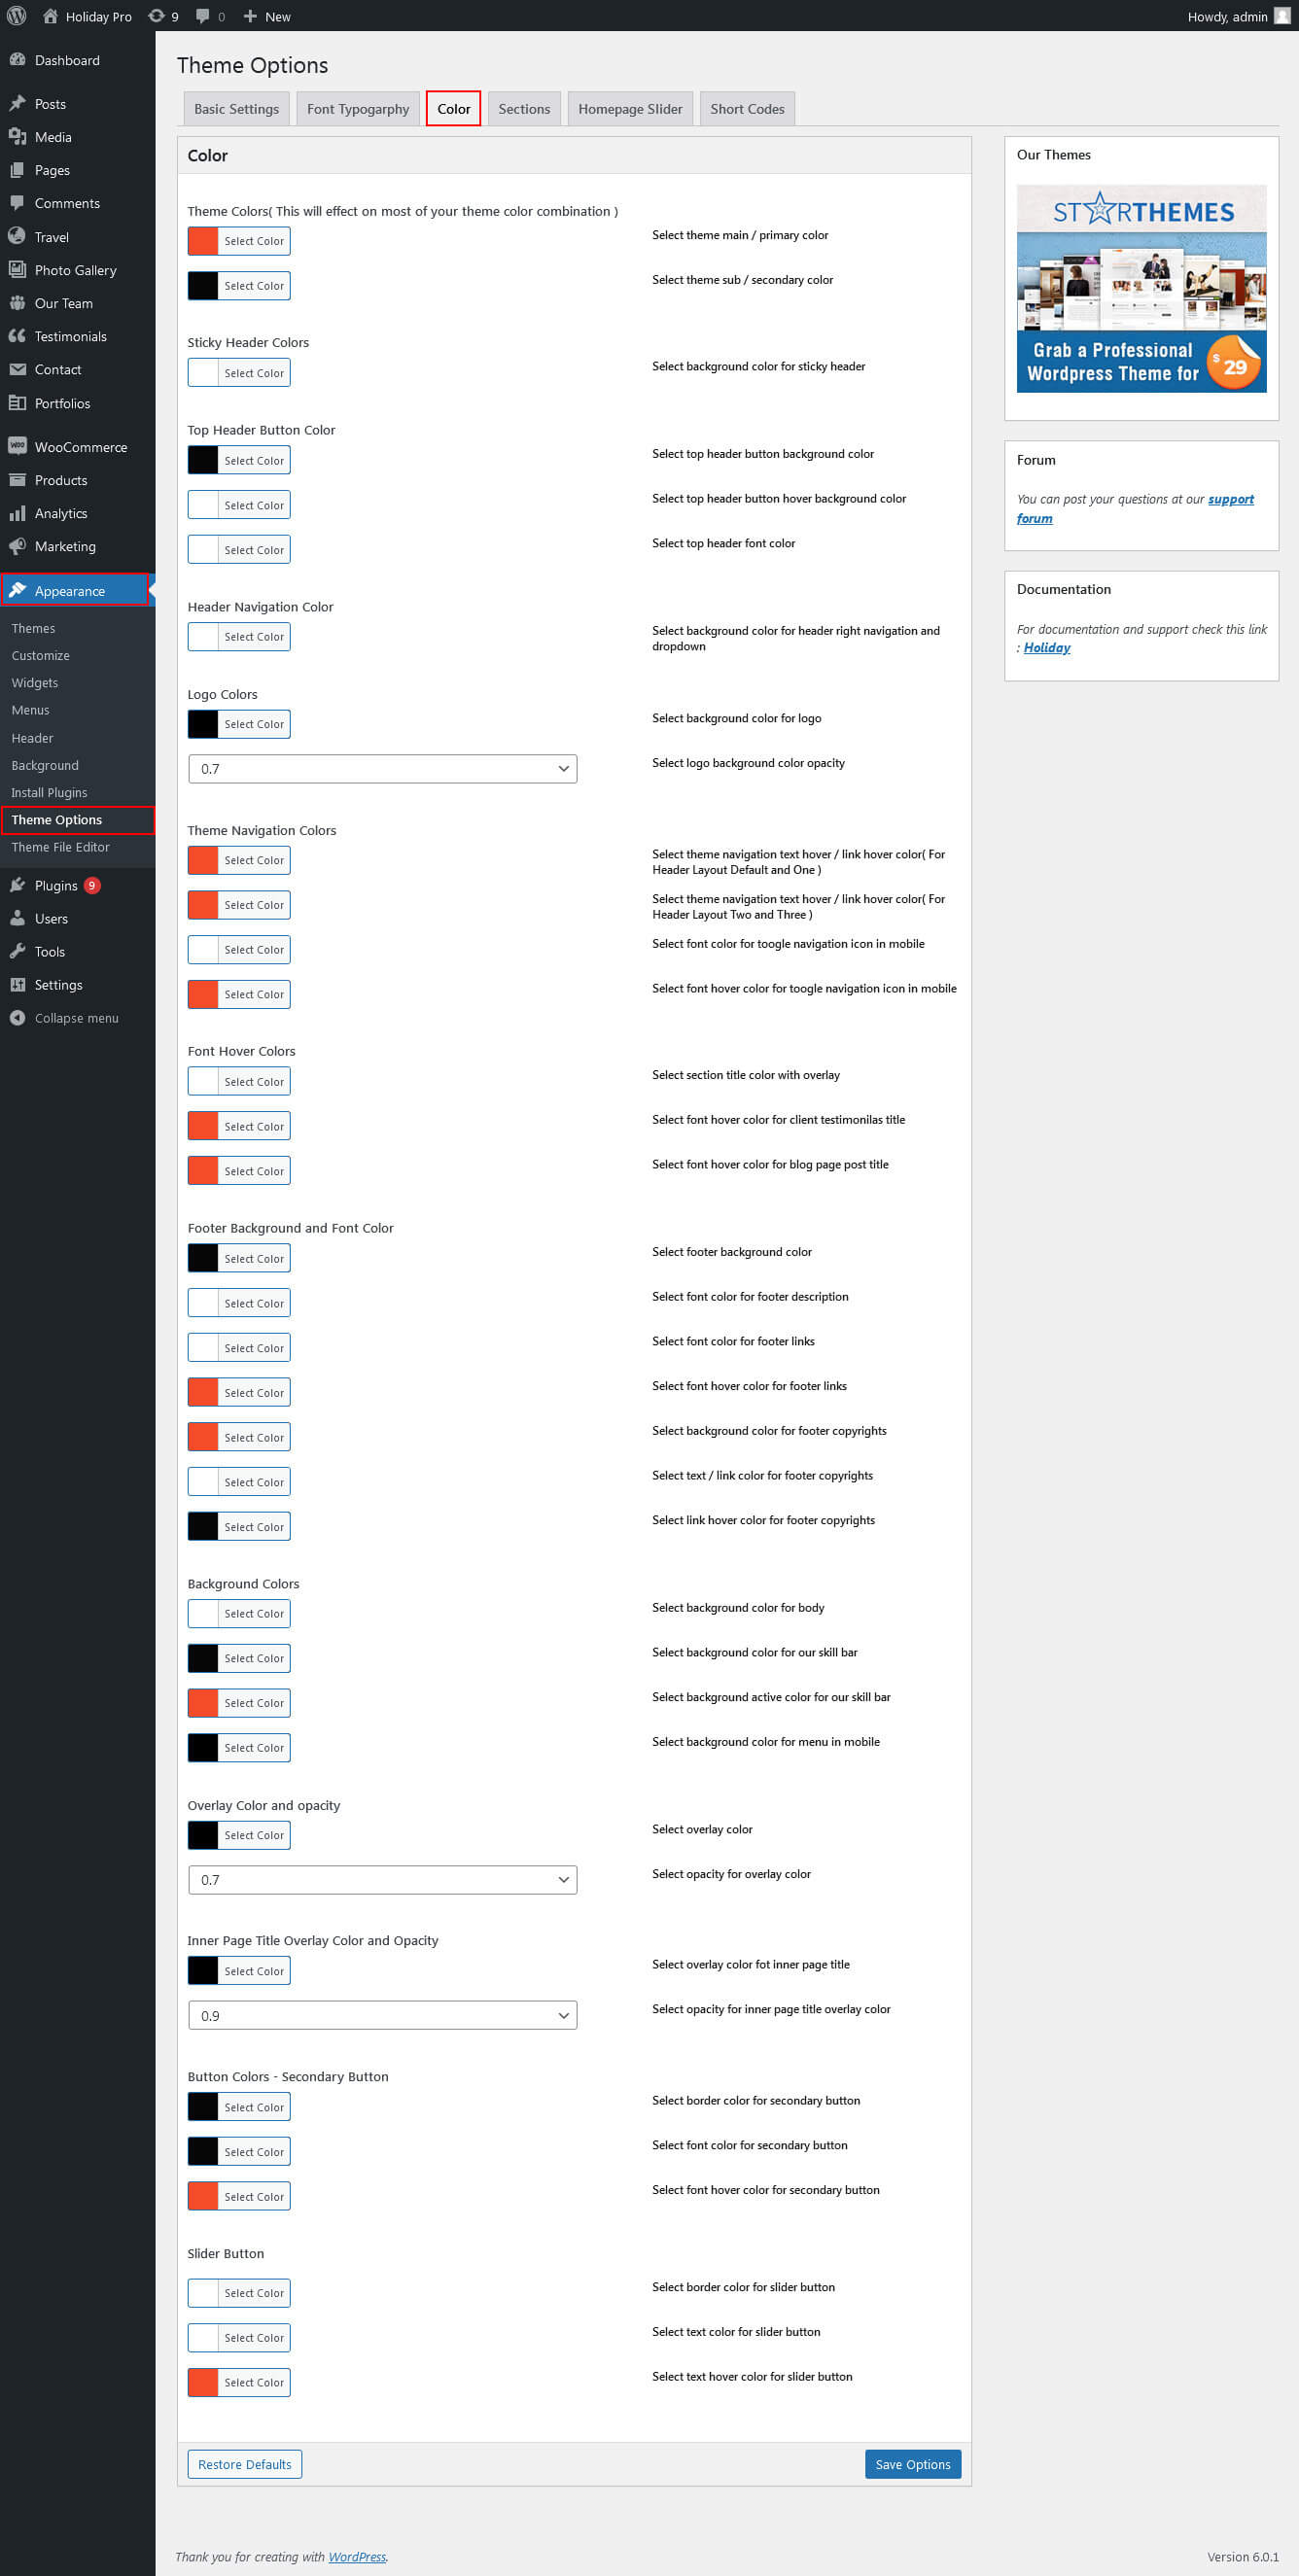
Font Color
Sections

Slider Settings

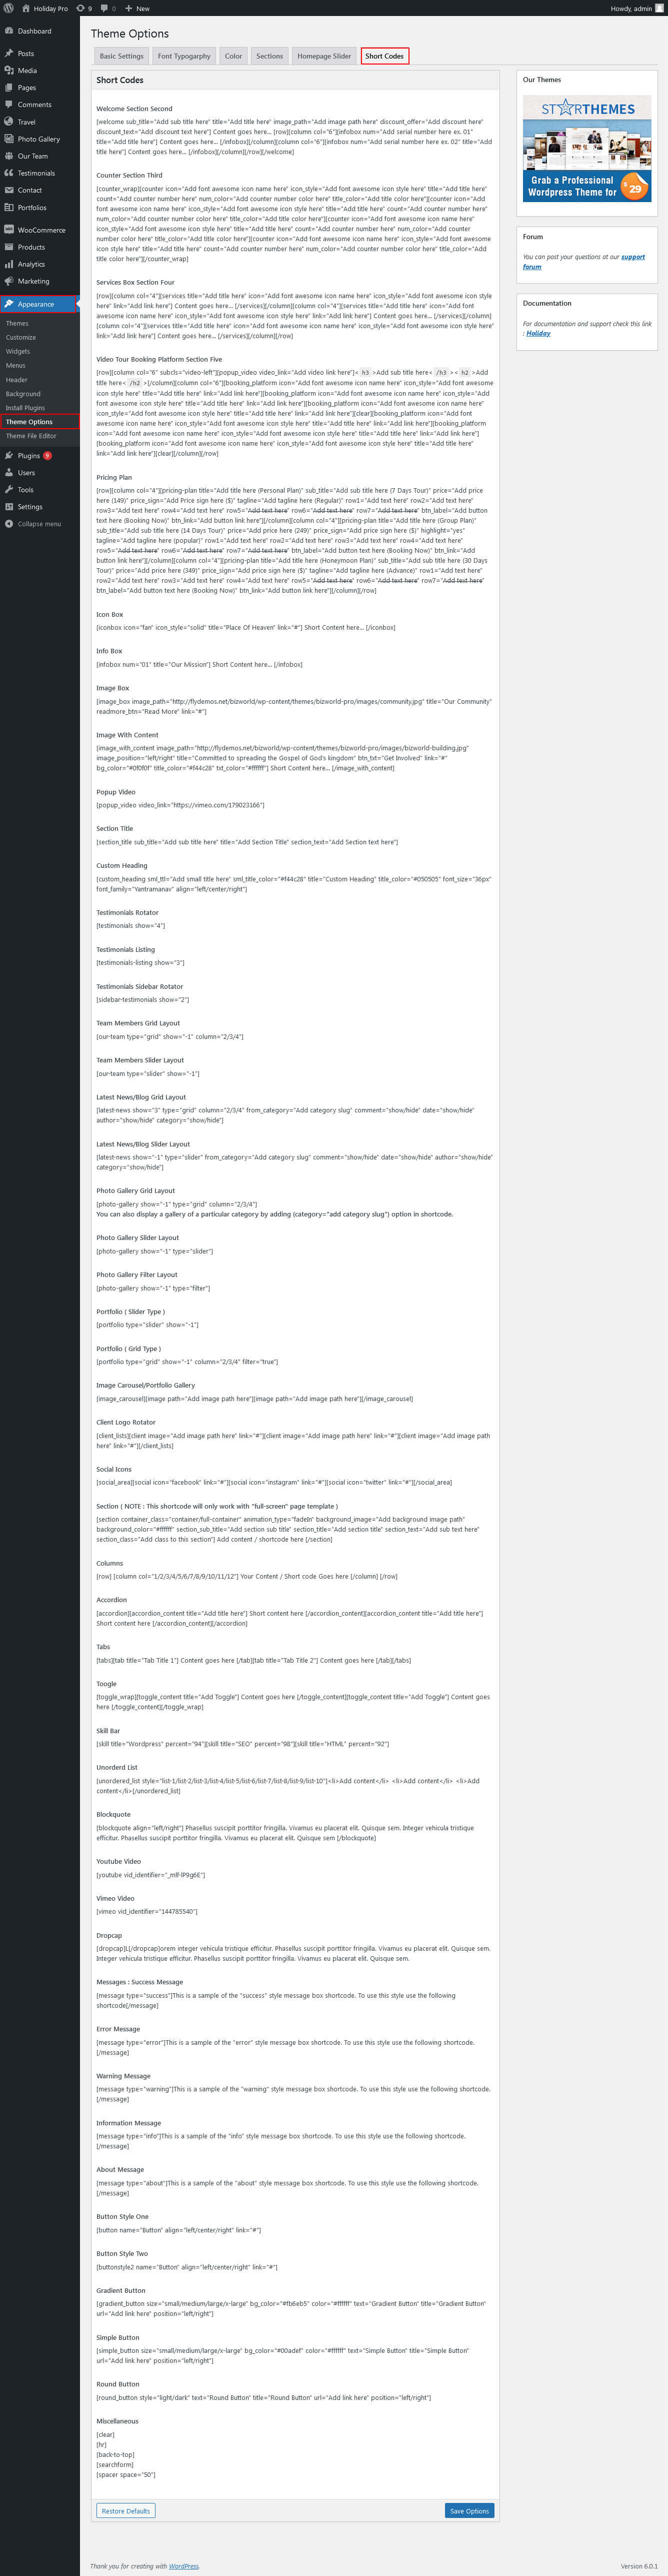
Shortcode
Contact Form 7
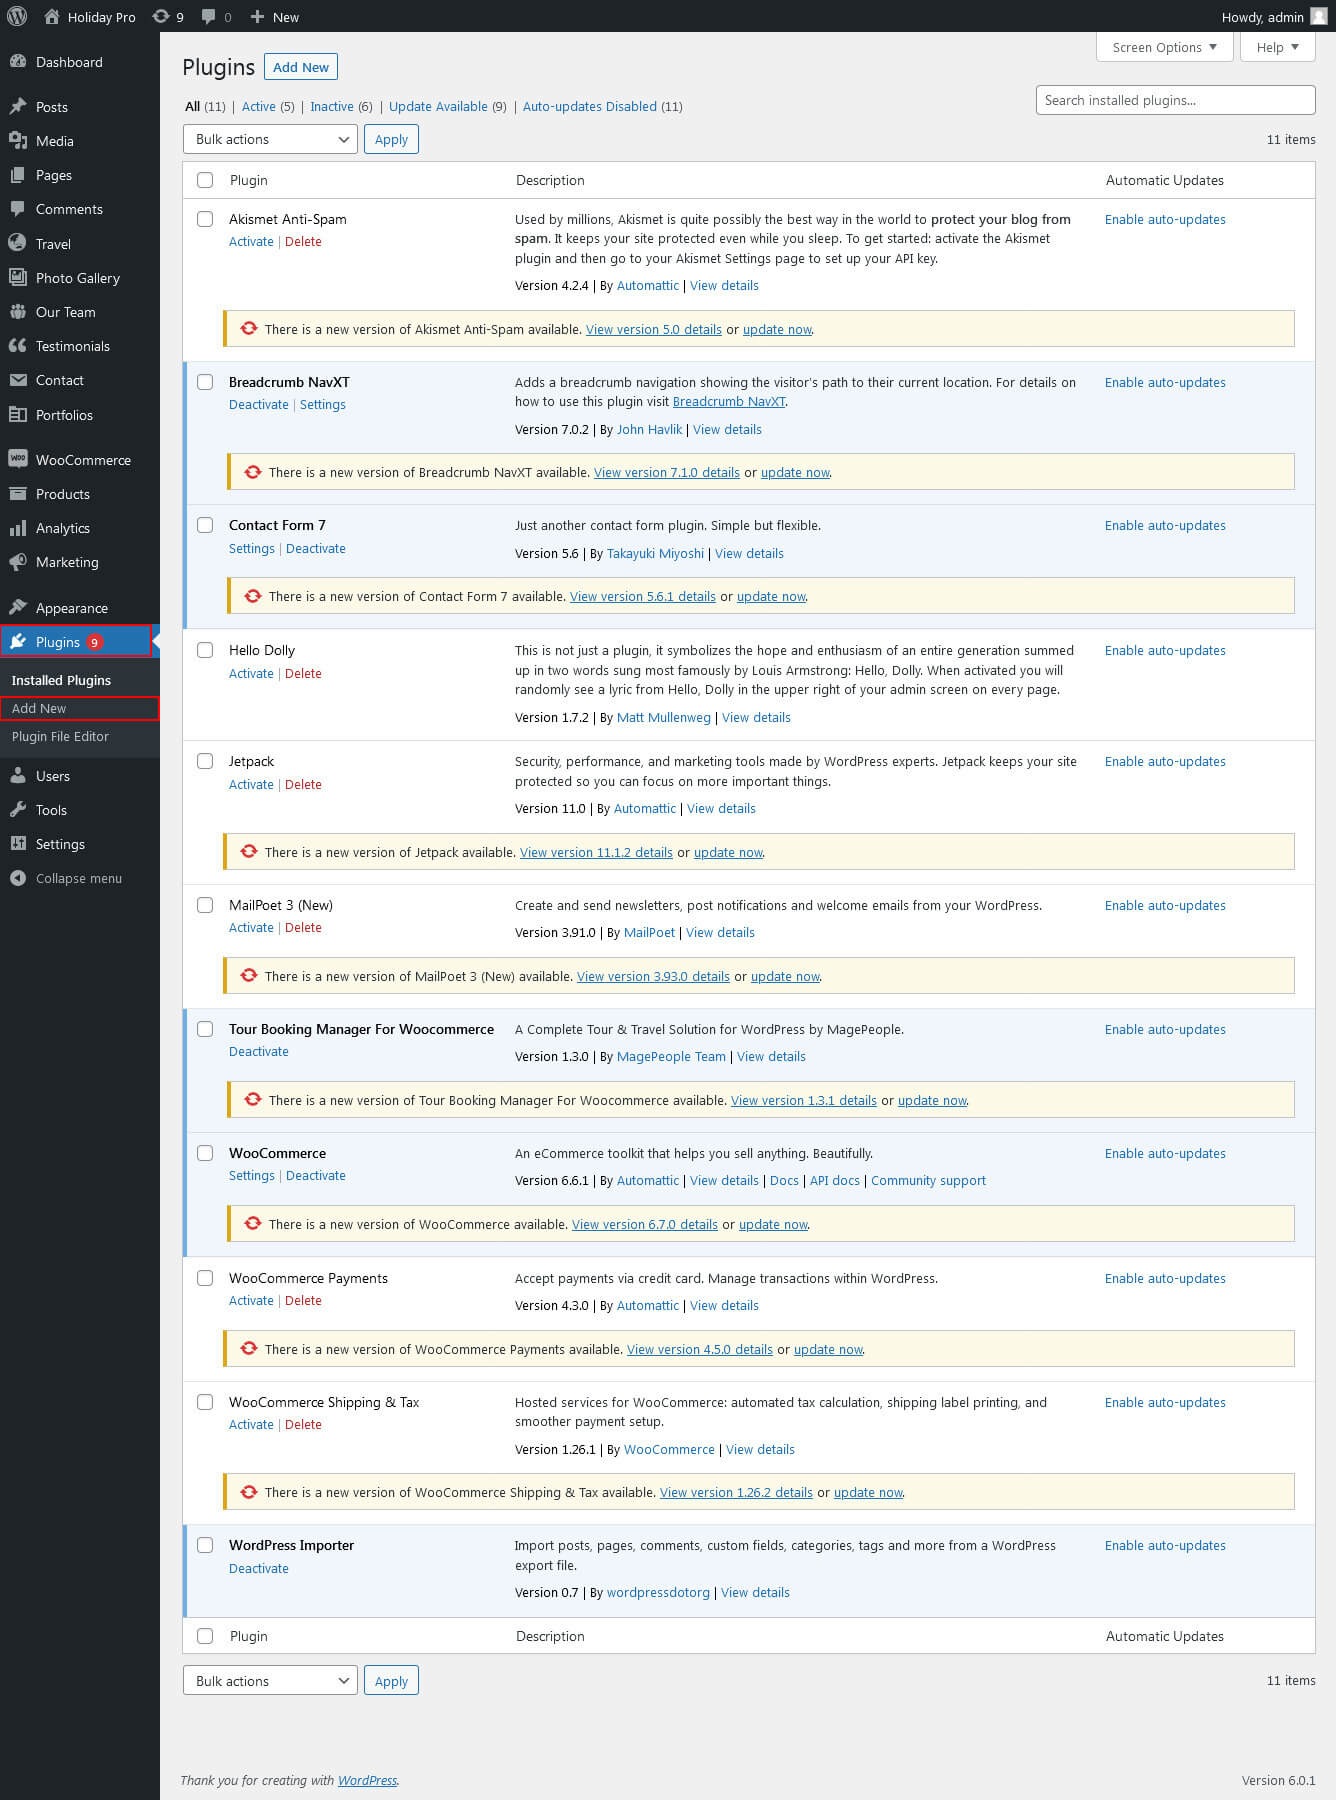
The following plugin Settings option. First upon search contact form 7 plugin and follow the below instruction, please go to Plugin → Add New.
Plugin Installation
Plugin Use
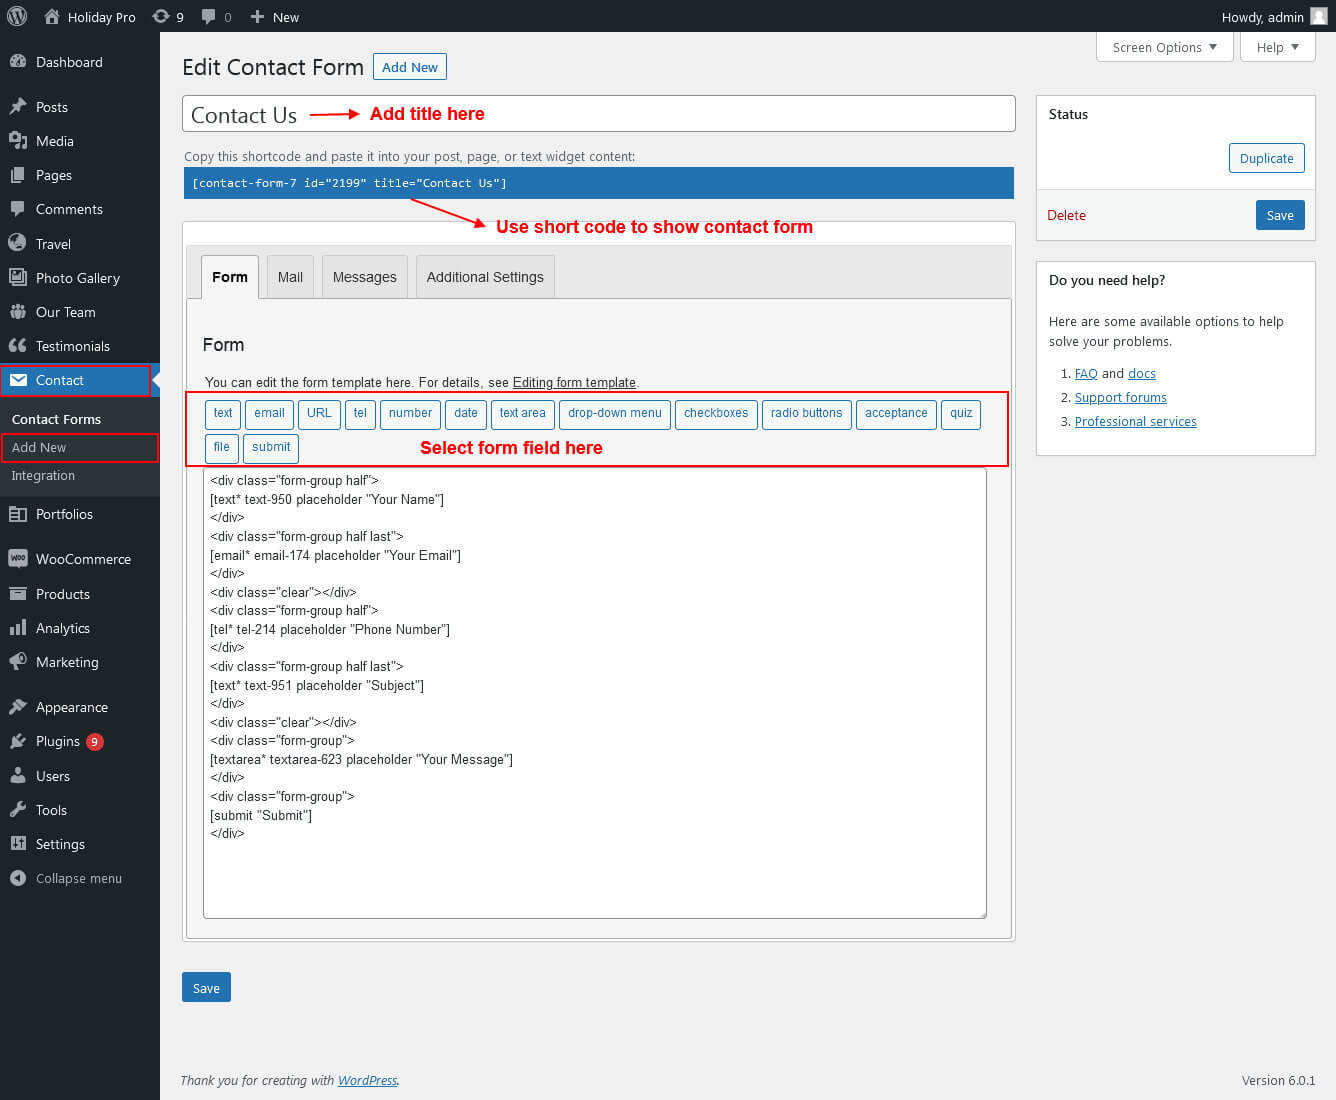
Photo Gallery
Setup Gallery Page

For setting up photo gallery page first of all you need to add some posts by using Photo Gallery Posts. Follow below instruction to add posts.
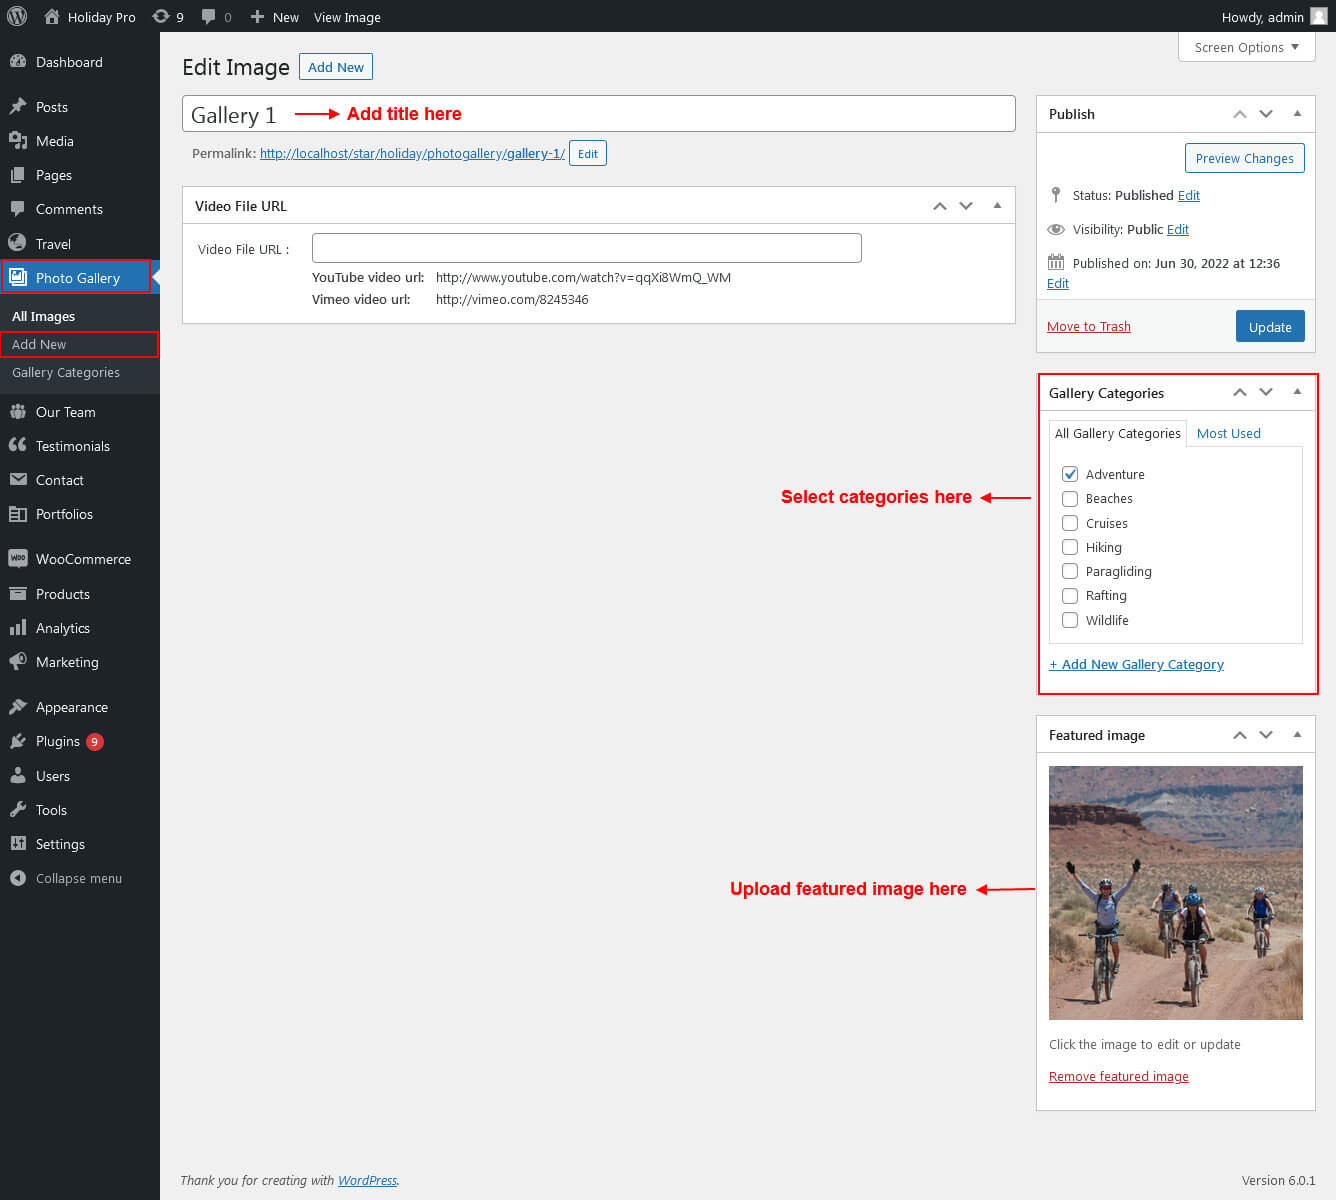
Once you added posts in the Gallery Page Posts type after that you just have to add post shortcode in the gallery page content area and you'r done.
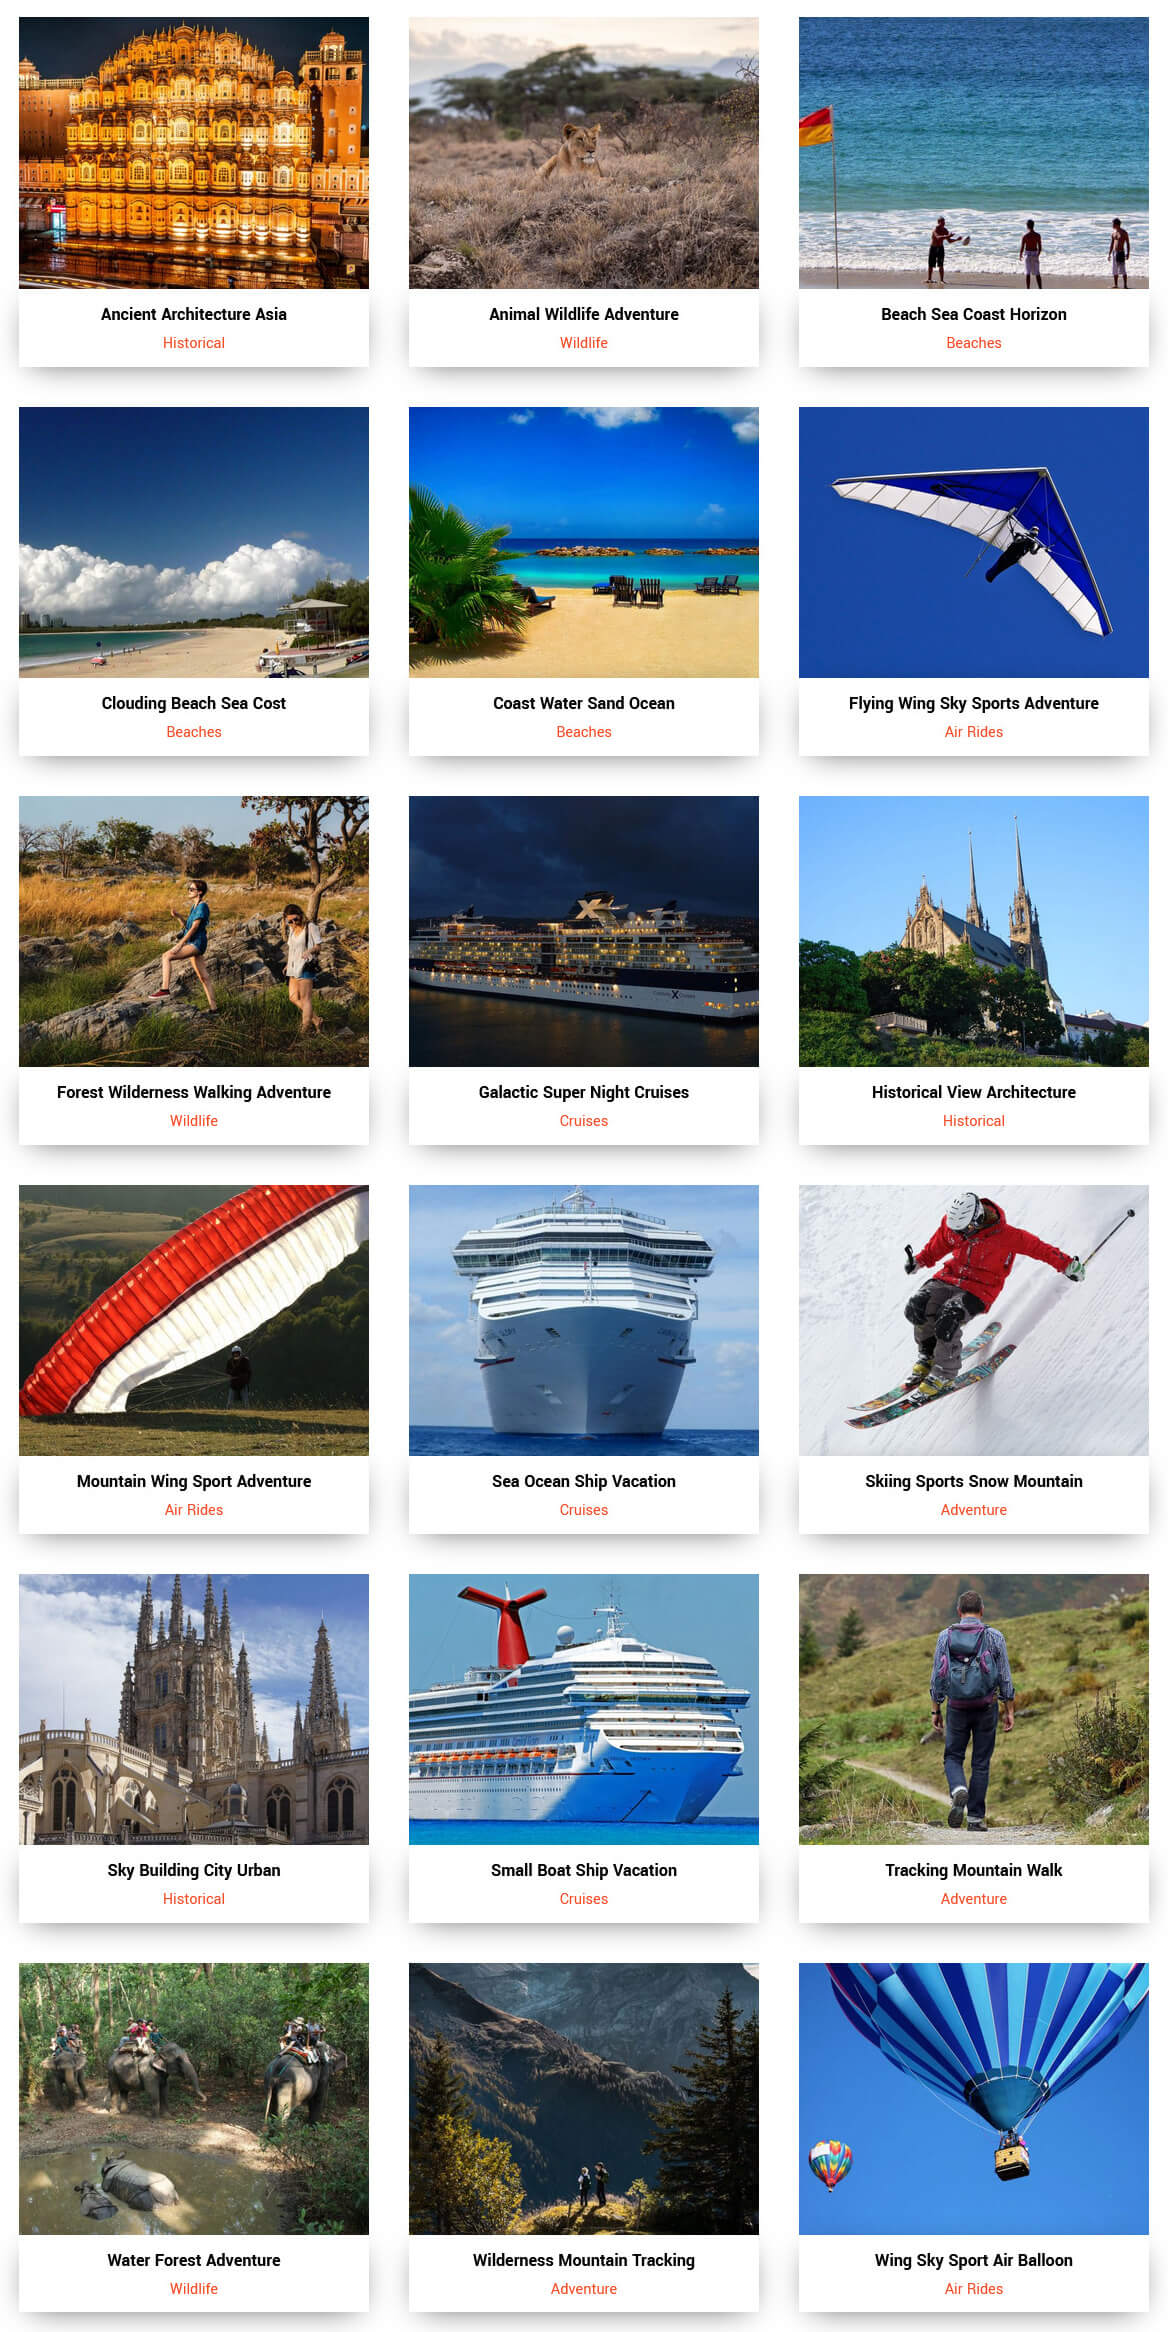
Shortcode/Content for Gallery Page
Grid Layout : [photo-gallery show="-1" type="grid" column="2/3/4"]
Filter Layout : [photo-gallery show="-1" type="filter" column="3"]
Slider Layout : [photo-gallery show="-1" type="slider"]
Portfolio
Setup Portfolio Page
For setting up portfolio page first of all you need to add some posts by using Portfolio Posts. Follow below instruction to add posts.
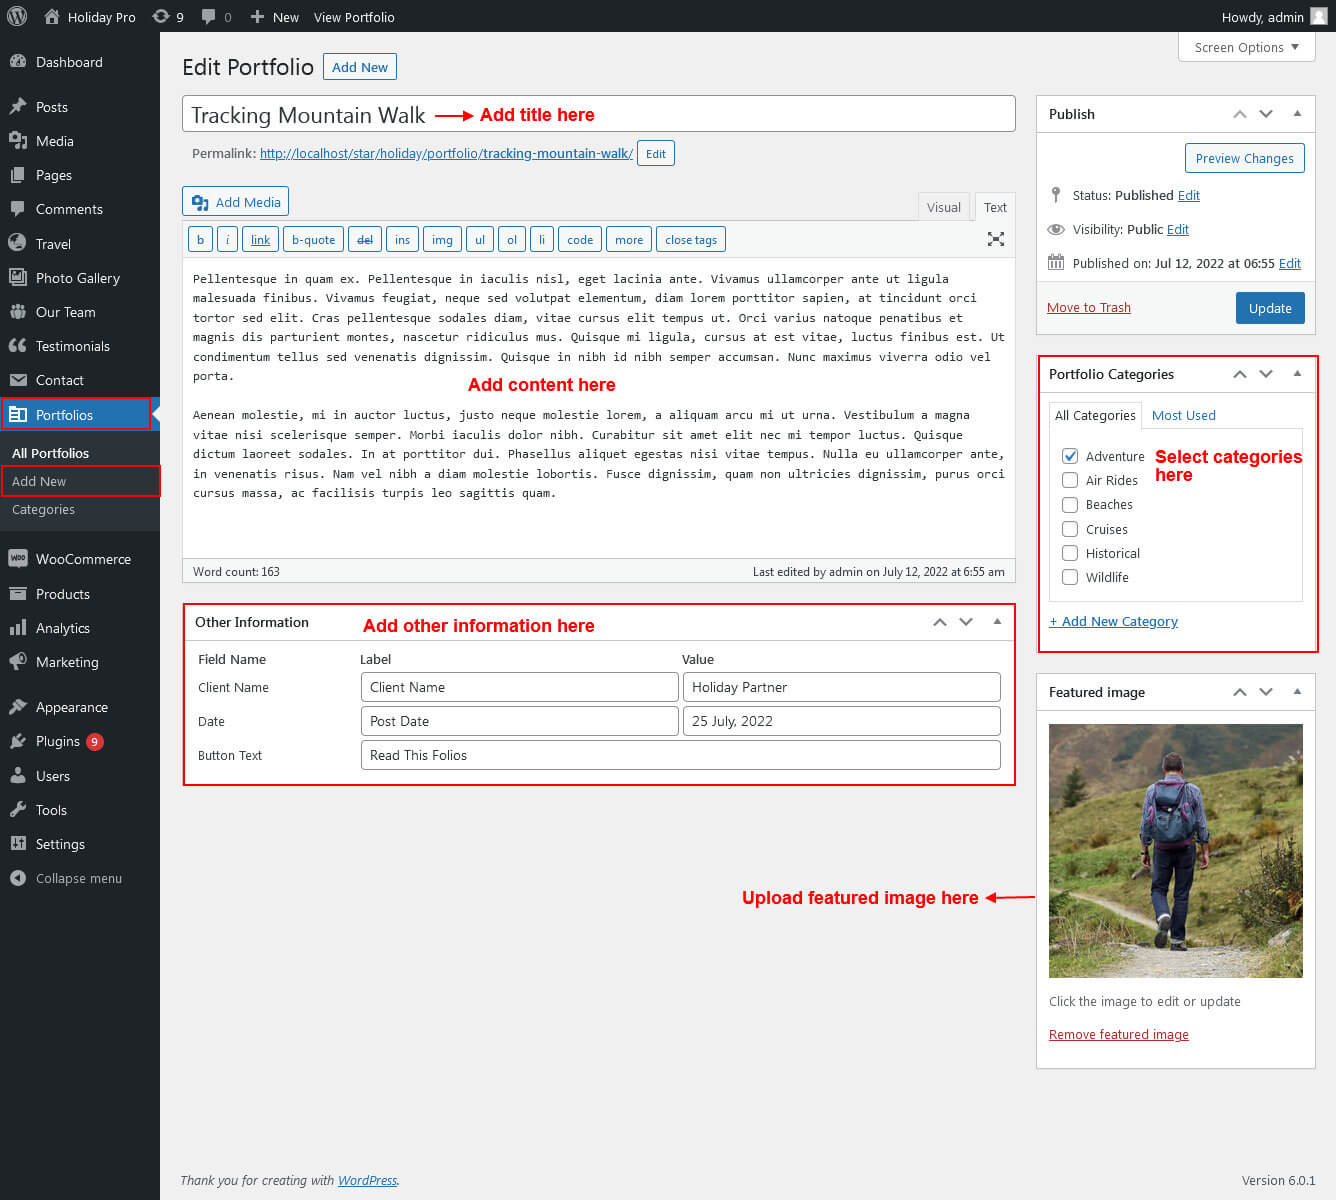
Once you added posts in the Portfolio Page Posts type after that you just have to add post shortcode in the portfolio page content area and you'r done.
Shortcode/Content for Portfolio Page
Grid Layout : [portfolio type="grid" show="-1" column="2/3/4" filter="false"]
Filter Layout : [portfolio type="grid" show="-1" column="2/3/4" filter="true"]
Slider Layout : [portfolio type="slider" show="-1"]
Our Team Member
Setup Our Team Member
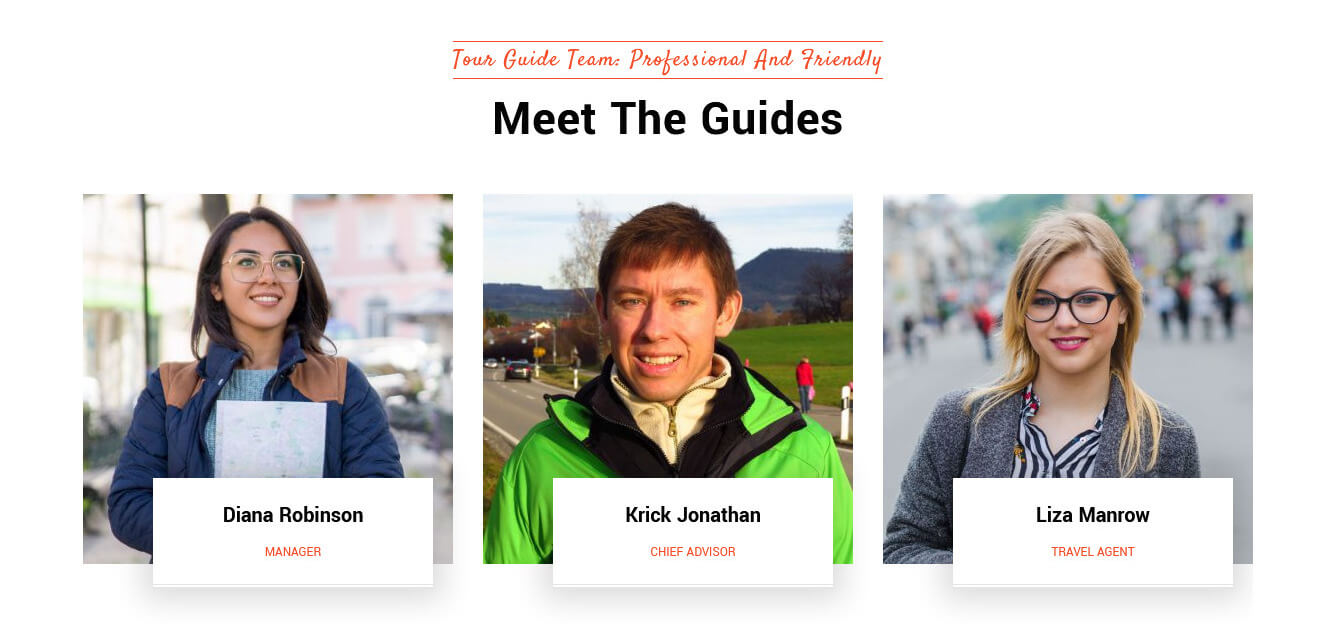
For setting up Team Post first of all you need to add some posts by using Our Team. Follow below instruction to add posts.
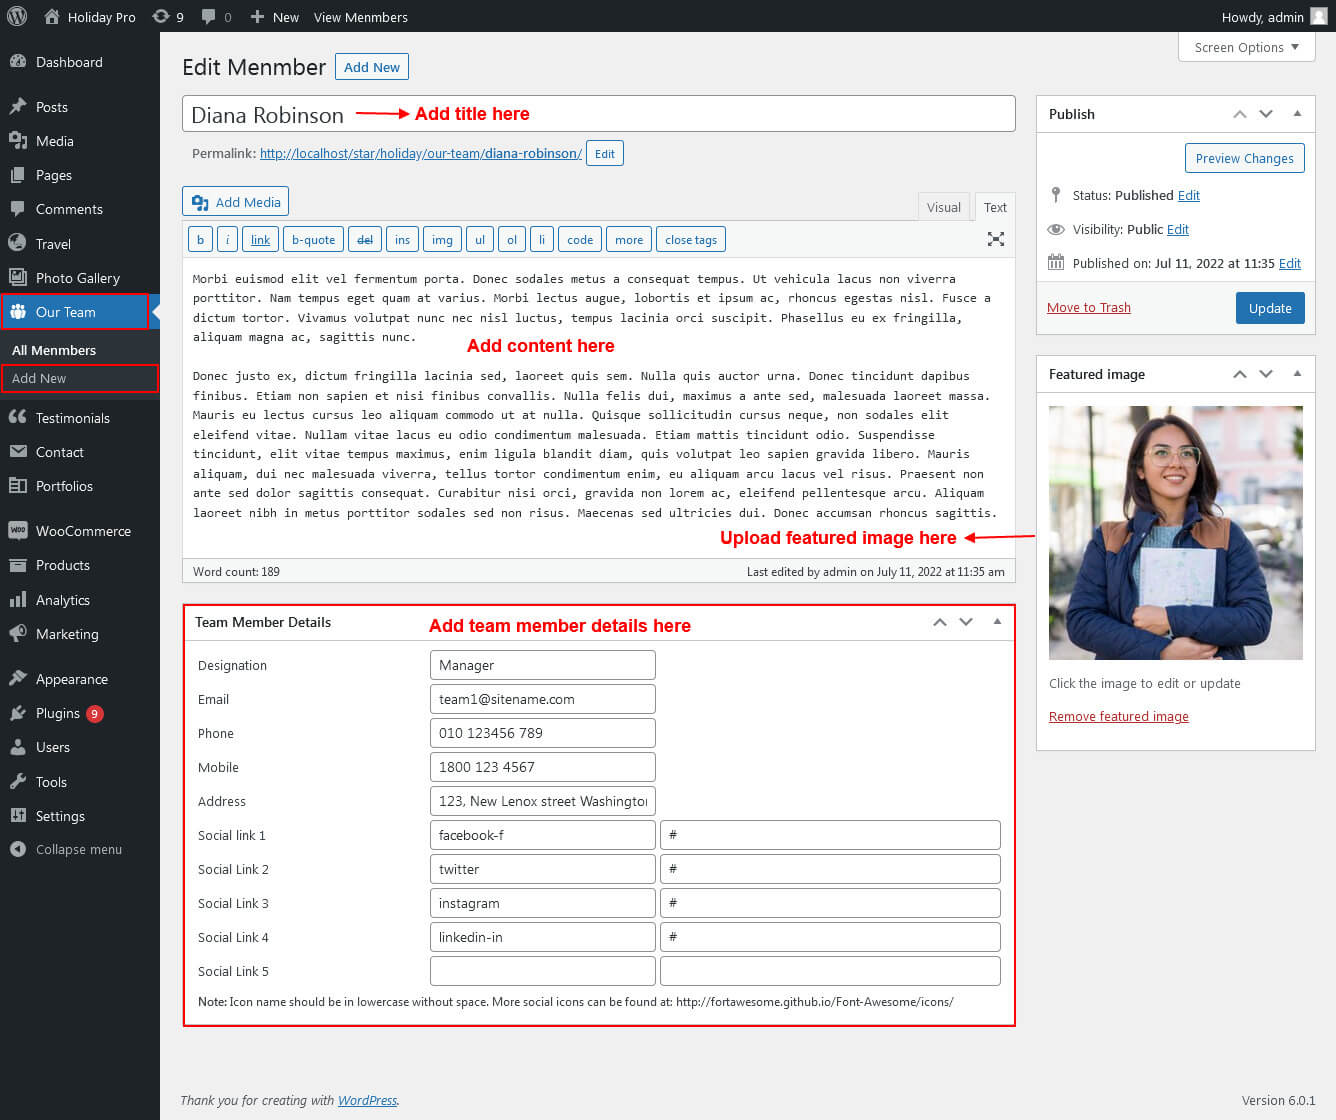
Once you added posts in the Team Posts type after that you just have to add post shortcode in the team page content area and you'r done.
Shortcode/Content for Our Team Page
Grid Layout : [our-team type="grid" show="-1" column="2/3/4"]
Slider Layout : [our-team type="slider" show="-1"]